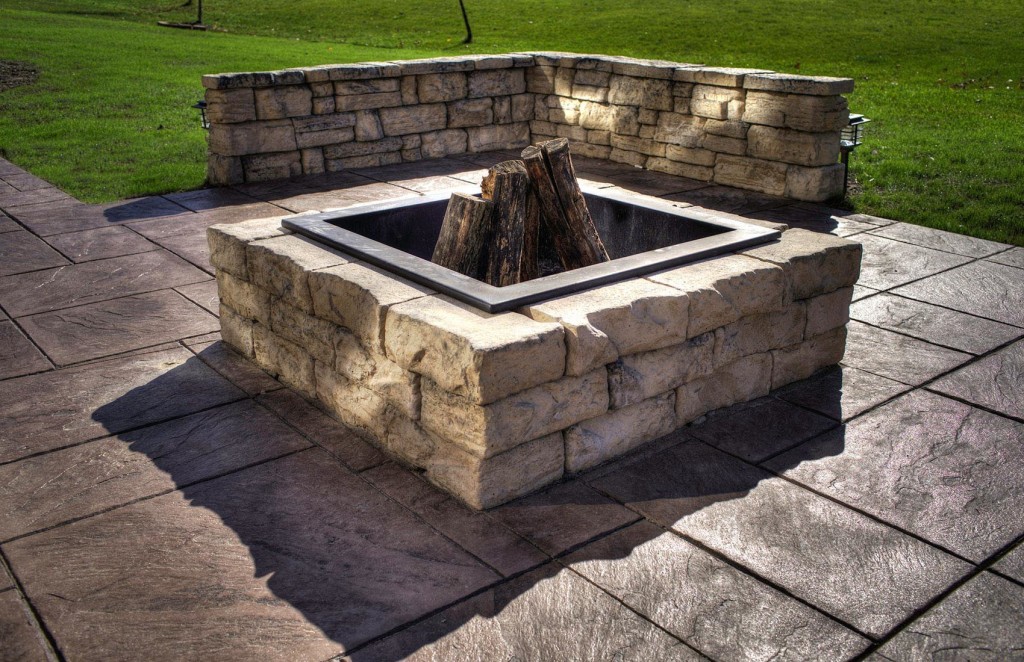
• What Are the Pros And Cons of Fire Pit Cooking?

    What Are the Pros And Cons of Fire Pit Cooking?

    Fire pit cooking is a fantastic way to combine the joy of a gathering around a warm fire with the pleasure of preparing and enjoying food outdoors. Whether you’re making a casual meal for friends or preparing a feast for the whole family, a fire pit can serve as the perfect cooking station for a variety of dishes. Here’s how to make the most of your fire pit cooking experience, along with essential safety tips to ensure everything goes smoothly.

    Key Fire Pit Cooking Tips

    1. Safety First: Fire Pit Placement

    When setting up your fire pit, safety should always come first, especially when it involves cooking. To prevent any accidents:

    • Positioning: Ensure the fire pit is placed at least 10 to 15 feet away from any flammable objects, such as houses, furniture, and tree branches. This prevents the risk of fire spreading and keeps everything safe during cooking.
    • Wind Awareness: Avoid placing your fire pit in areas where the wind might cause sparks to fly, especially if you’re cooking with oils or meats that could ignite easily.
    • Clear Area: Keep the surrounding area free of flammable materials, such as dry grass, leaves, or cloth furniture, that could catch fire while you’re cooking.

    2. Types of Fire Pit Cooking

    There are several ways to cook using a fire pit, and it depends on your preferences, the food you want to prepare, and your setup.

    A. Grilling Over Open Flames
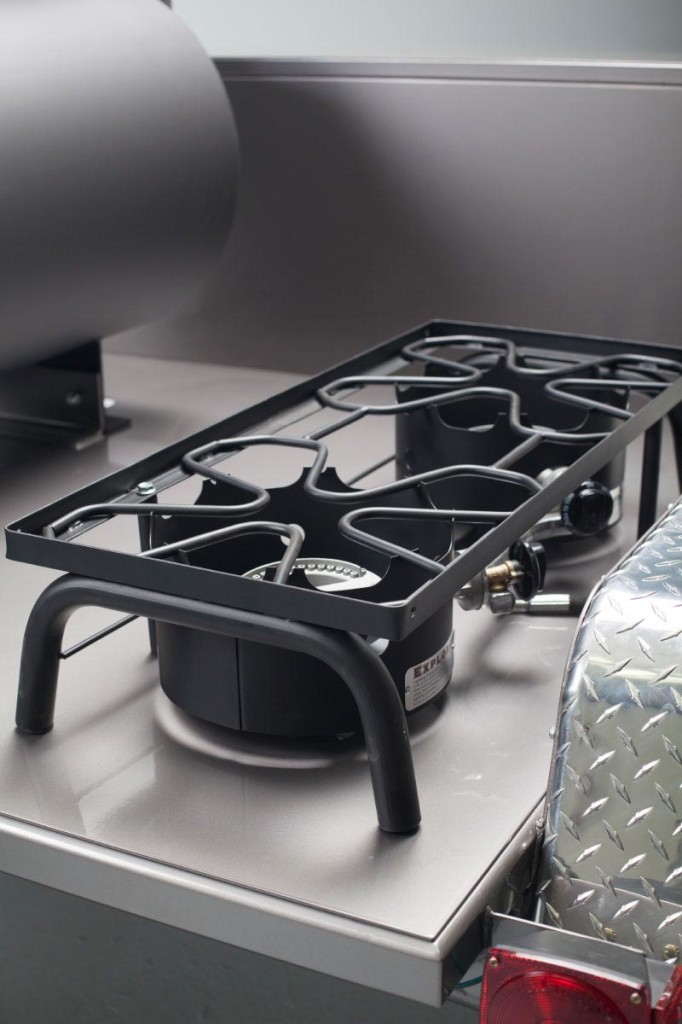
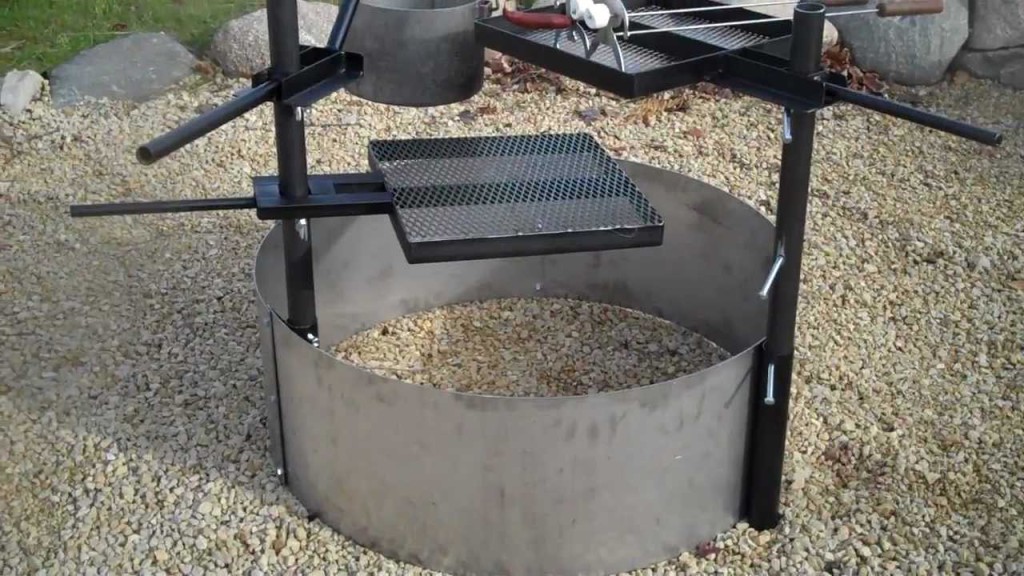
    • Fire Pit Grates: One of the most popular fire pit cooking accessories is the grill grate, which sits above the fire to cook food like steaks, burgers, or vegetables. Grilling over an open flame gives food a delicious smoky flavor and is a perfect method for quick meals.
    • Adjustable Height Grates: Some fire pits come with adjustable grates, allowing you to control the cooking height and temperature. This can be particularly useful for slower cooking and avoiding overcooking or burning your food.
    B. Cooking with Cast Iron
    • Cast Iron Skillet: Another method is using a cast iron skillet or Dutch oven over the fire. These sturdy cooking tools can be used for making stews, soups, or even baking bread. Just make sure to have a stable surface or a sturdy cooking platform.
    • Campfire Pots: You can hang a pot over the fire, perfect for cooking stews, soups, or pasta. A tripod stand or hook system can be used to suspend the pot over the fire, giving you more control over the heat.
    C. Roasting on Skewers or Spits
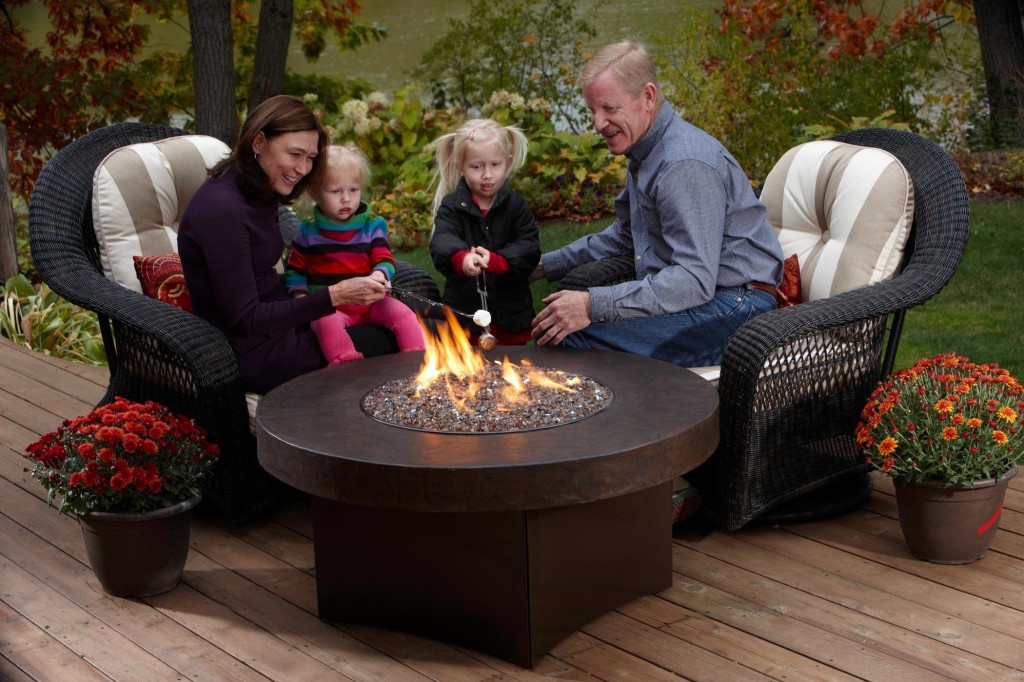
    • Skewers: For a fun, hands-on cooking experience, you can roast marshmallows, sausages, or vegetables on skewers directly over the fire. This method allows for interactive cooking where everyone can take turns roasting their favorite foods.
    • Rotisserie Spit: For larger cuts of meat, a rotisserie spit over the fire pit can provide slow, even cooking. This is perfect for larger gatherings where you want to cook a whole chicken or roast meat.
    D. Pizza Cooking in Fire Pit
    • Pizza Stone: Fire pits can be used for cooking pizzas with the help of a pizza stone. You can set the stone on a metal grate and place your pizza on it. The stone will help distribute heat evenly, giving you a crispy crust and perfectly cooked toppings.

    3. Managing the Cooking Process

    When cooking on a fire pit, managing the heat is key to avoid burning food or overcooking. Here’s how:

    • Charcoal or Wood: If you’re using wood, make sure it burns to glowing embers before you start cooking. Charcoal is a better option if you need consistent heat and easy temperature control.
    • Temperature Control: Use tongs, fire pokers, or a heat shield to adjust the fire’s intensity. Keep a close eye on the food to make sure it doesn’t burn.
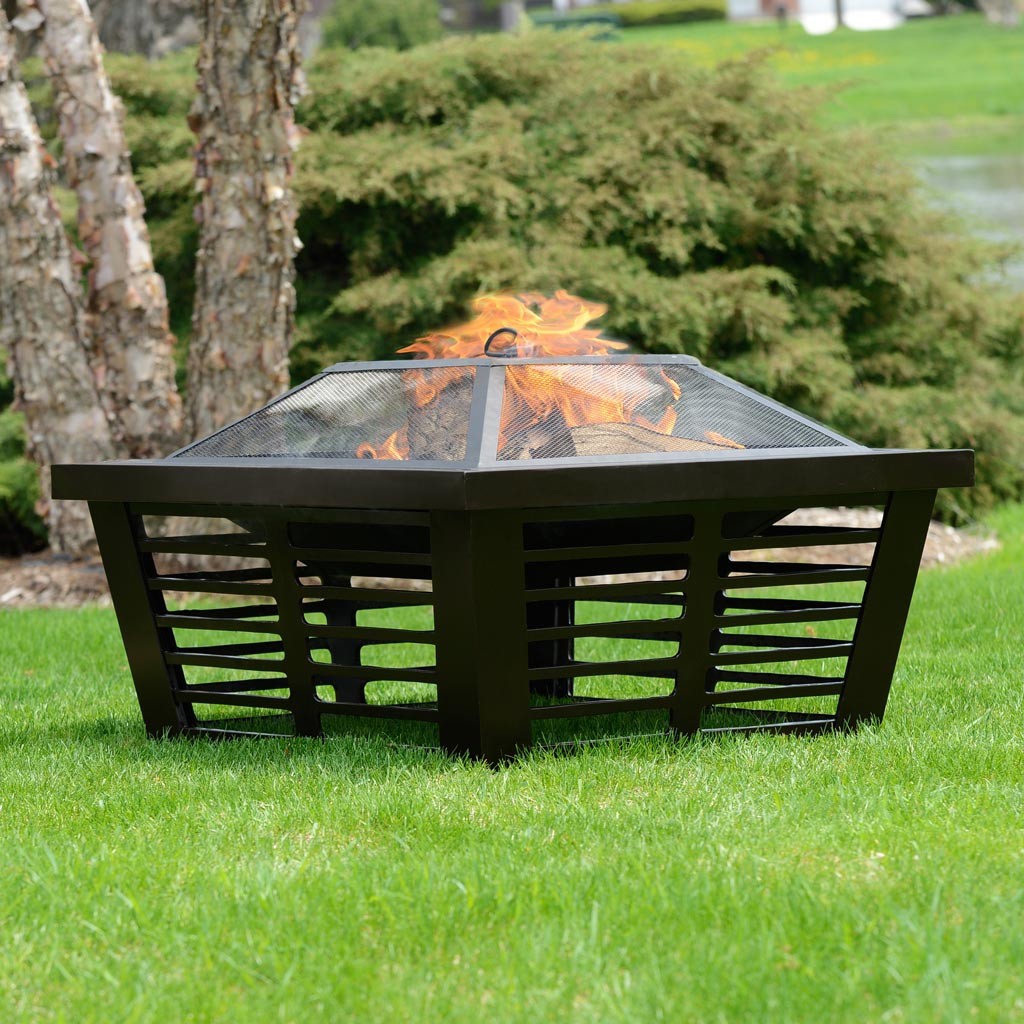
    • Lid to Prevent Sparks: Many fire pit cooking setups come with a lid or spark guard. This is especially useful when cooking with oils, as it prevents any accidental splattering of hot oil that could cause flare-ups or burns.

    4. Fire Pit Cooking Accessories

    The right accessories can enhance your fire pit cooking experience and provide more flexibility:

    • Cooking Grates: A heavy-duty grill grate is one of the best accessories to have for cooking directly over the flame.
    • Pizza Ovens: Some fire pits come with add-on pizza ovens, which let you bake pizzas just like you would in a traditional oven but with the added flavor of wood smoke.
    • Cooking Skewers and Racks: For skewers or kebabs, get long skewers to keep your hands away from the fire. Roasting racks or grills can be used to cook larger pieces of meat or vegetables.
    • Fire Pit Tongs & Tools: Invest in fire pit tongs and other cooking tools that are long enough to keep you safe from the heat.

    5. Cleaning After Fire Pit Cooking

    After the fun is over, cleaning your fire pit is crucial to maintaining it in good condition for future use:

    • Ash Removal: Let the ashes cool down completely before cleaning them out. You can use a shovel or ash vacuum to remove them.
    • Grate Cleaning: Clean the grill grate by brushing it off with a wire brush to remove any food remnants, ensuring it’s ready for the next use.
    • Regular Maintenance: If your fire pit has cooking components, make sure to check for any signs of wear or damage regularly.

    Fire pit cooking is a rewarding experience that can elevate your outdoor gatherings to a whole new level. Whether you’re grilling, roasting, or cooking in cast iron, a fire pit is an excellent tool for preparing a variety of meals while enjoying the warmth and ambiance of a live fire. Always prioritize safety, use the right cooking accessories, and pay attention to the heat levels to ensure delicious, safe cooking. With the right setup and precautions, fire pit cooking can be a wonderful and memorable activity for family and friends.

  • Fire Pit Seating Creative Ideas

    Fire Pit Seating Creative Ideas

    Creating a fire pit seating area not only brings warmth to your outdoor space but also enhances its aesthetic and functionality. The seating arrangement around a fire pit can create an inviting environment for gatherings, whether you’re hosting a small group or a larger crowd. Below are some fire pit seating area ideas that can inspire your patio design and make your outdoor space both comfortable and stylish.

    1. Circular Seating Arrangement

    • Why it works: Since fire pits are typically round or oval, arranging your seating in a circular layout around the fire pit enhances the sense of unity and community. It allows everyone to enjoy the warmth and view of the flames equally.
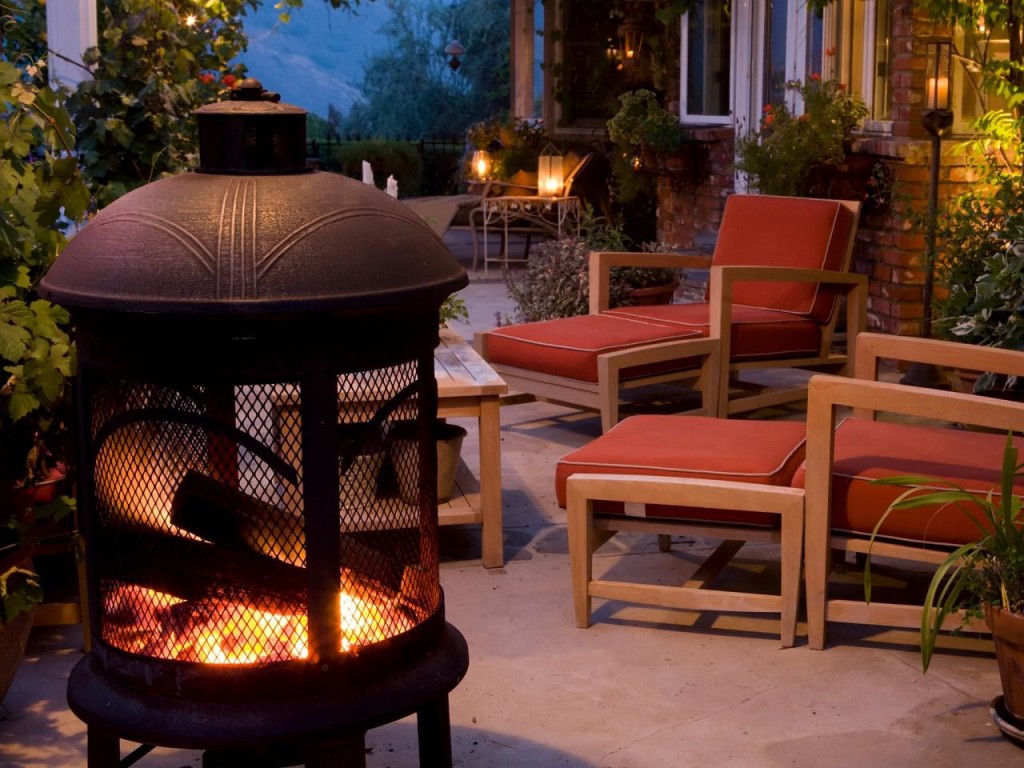
    • What to include: Consider using outdoor club chairs, benches, or lounge chairs arranged in a circle. Add soft, weather-resistant cushions to increase comfort.

    2. Built-In Bench Seating

    • Why it works: If you have limited space or want to create a more permanent, integrated look, built-in bench seating around the fire pit can be an excellent option.
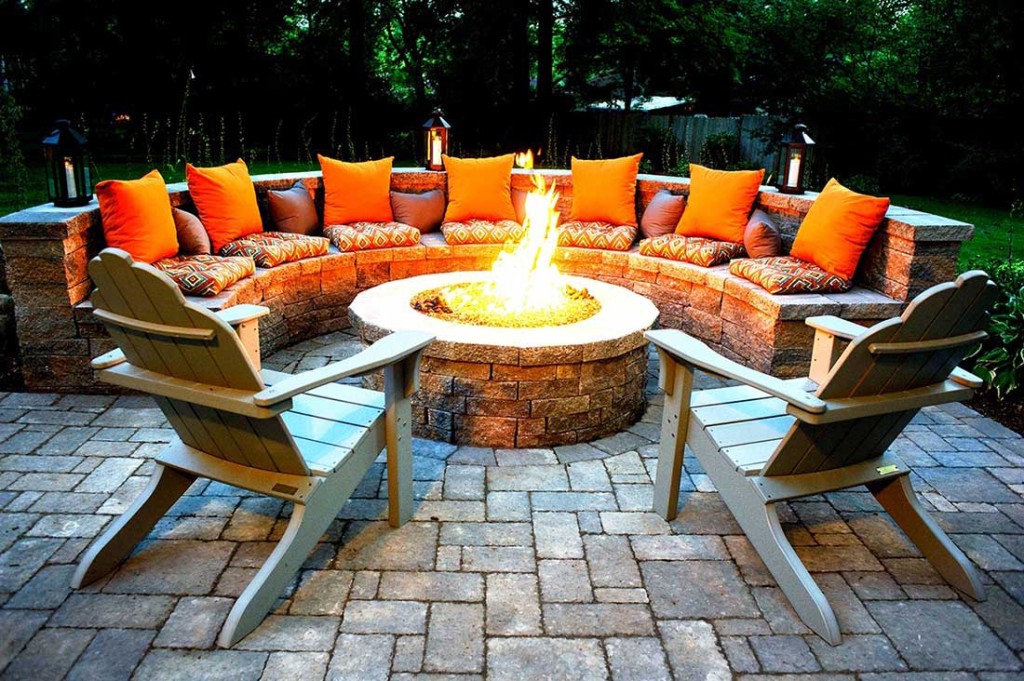
    • What to include: Stone or brick benches that match the fire pit design. Add cushions for extra comfort and style.

    3. Modular Outdoor Furniture

    • Why it works: For versatility and flexibility, opt for modular outdoor seating that can be rearranged depending on the number of guests or your current needs.
    • What to include: Modular sofa sets or individual seats that can be moved around the fire pit for different configurations. These can be made of durable, weather-resistant materials like wicker or aluminum.

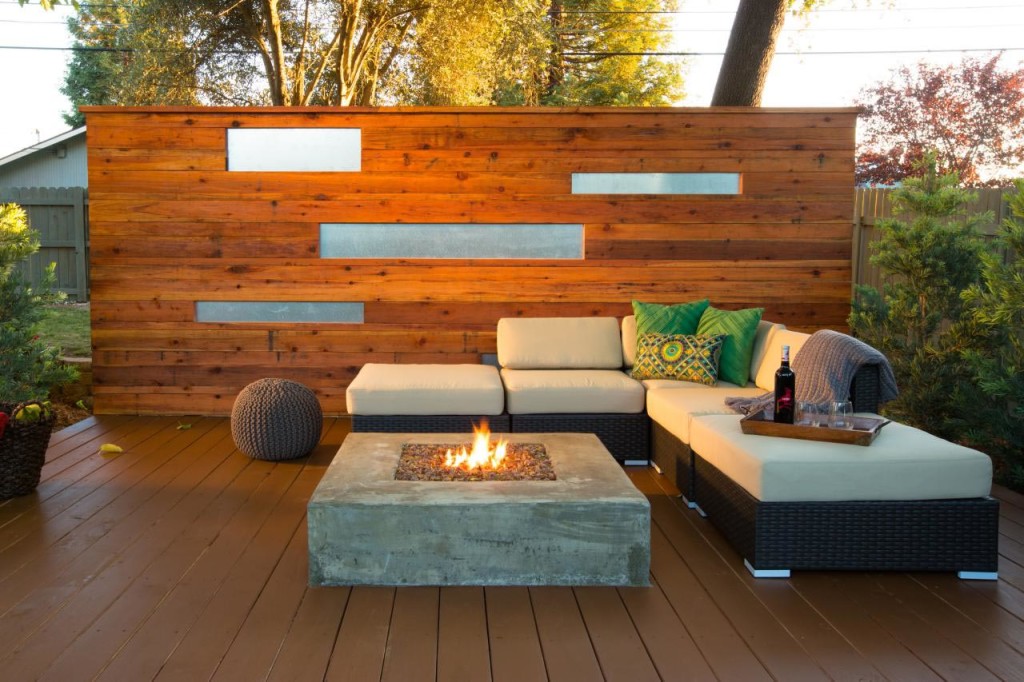
    4. Cozy Sectional Sofa with Fire Pit Centerpiece

    • Why it works: A sectional sofa surrounding a fire pit can create an intimate and cozy space for conversations and relaxation. It’s perfect for larger gatherings and can easily accommodate several people.
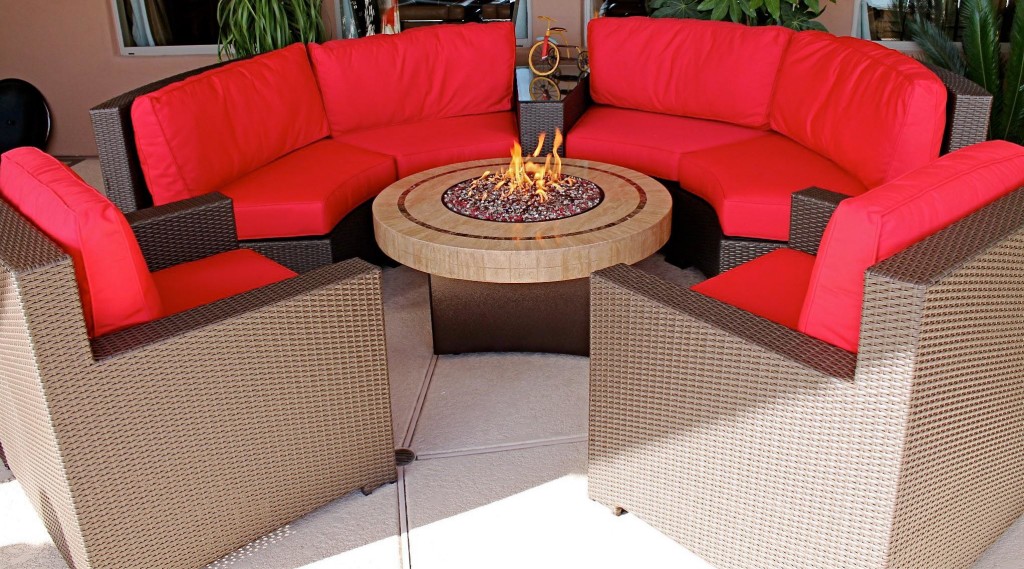
    • What to include: Choose deep seating sofas that are comfortable enough to encourage long conversations. Ensure the seats are positioned in a way that everyone can face the fire pit.

    5. Natural Stone Fire Pit Seating

    • Why it works: Stone seating creates a rustic, natural look that pairs perfectly with a traditional or flagstone fire pit. The textures of stone furniture reflect the ruggedness of the outdoors and provide durability.
    • What to include: Stone benches or stone stools around the fire pit. These pieces withstand the heat of the fire and blend seamlessly with natural surroundings.

    6. Modern Metal Seating with a Fire Pit

    • Why it works: For a more contemporary, sleek look, metal furniture around a fire pit can offer clean lines and a minimalist style that complements modern designs.
    • What to include: Aluminum or steel chairs or sofas with cushions. Metal furniture can withstand heat and is often lightweight enough to move around.

    7. Swinging or Hanging Seats

    • Why it works: If you want to add an element of playfulness to your fire pit area, hanging swings or swing chairs are a fun option that creates a relaxed vibe.
    • What to include: Hanging chairs or swings positioned near the fire pit to create a playful, casual seating arrangement.

    8. Adirondack Chairs Around the Fire Pit

    • Why it works: Adirondack chairs are a classic choice for fire pit areas, offering a laid-back, comfortable seat with a slanted back that is perfect for relaxing around the fire.
    • What to include: Use wooden or recycled plastic Adirondack chairs for a natural look, or choose polywood versions for a low-maintenance option.

    9. Round Fire Pit with Stone or Concrete Seating

    • Why it works: A round fire pit with matching stone or concrete seating creates a harmonious and cohesive design. This seating style is great for more traditional or rustic-themed outdoor spaces.
    • What to include: Stone or concrete blocks for seating, or you can create custom stone slabs around the pit.

    10. Combining Tables with Fire Pit Seating

    • Why it works: Incorporating a table into your seating arrangement allows you to enjoy a fire while also having space for drinks, snacks, or a meal. This works especially well for areas that double as dining spaces.
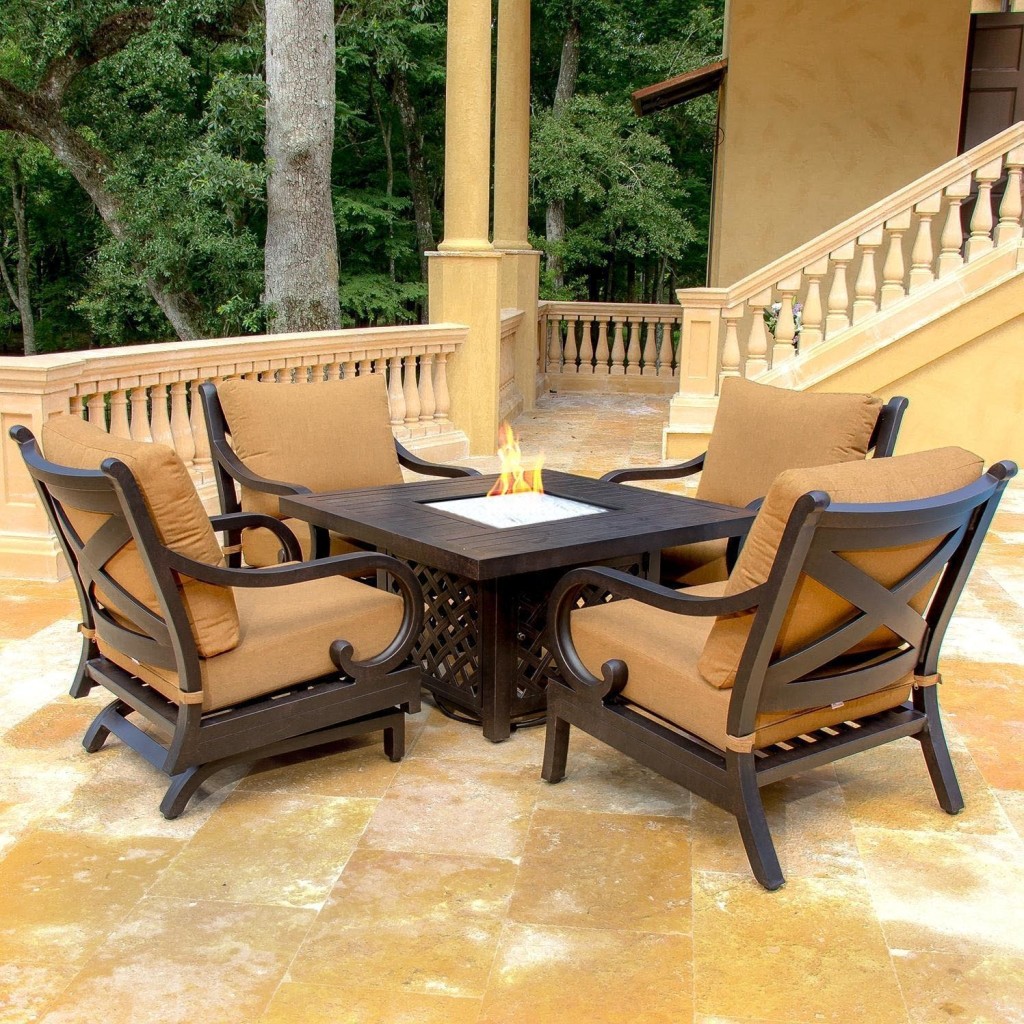
    • What to include: A fire pit table in the center with surrounding chairs or a low-profile table around the fire.

    11. Creating Multiple Zones

    • Why it works: If your patio or backyard is large, creating multiple seating zones can allow people to interact in different ways while still being near the fire. It can add to the functionality of the space.
    • What to include: Use different types of seating, such as lounge chairs, benches, or stools, and place them in groups around the fire pit.

    12. Lounge Chairs with Fire Pit Side Table

    • Why it works: For a relaxed, low-maintenance look, lounge chairs placed around a fire pit with a side table provide comfort and functionality.
    • What to include: Adjustable lounge chairs with small side tables for drinks, snacks, or phones.

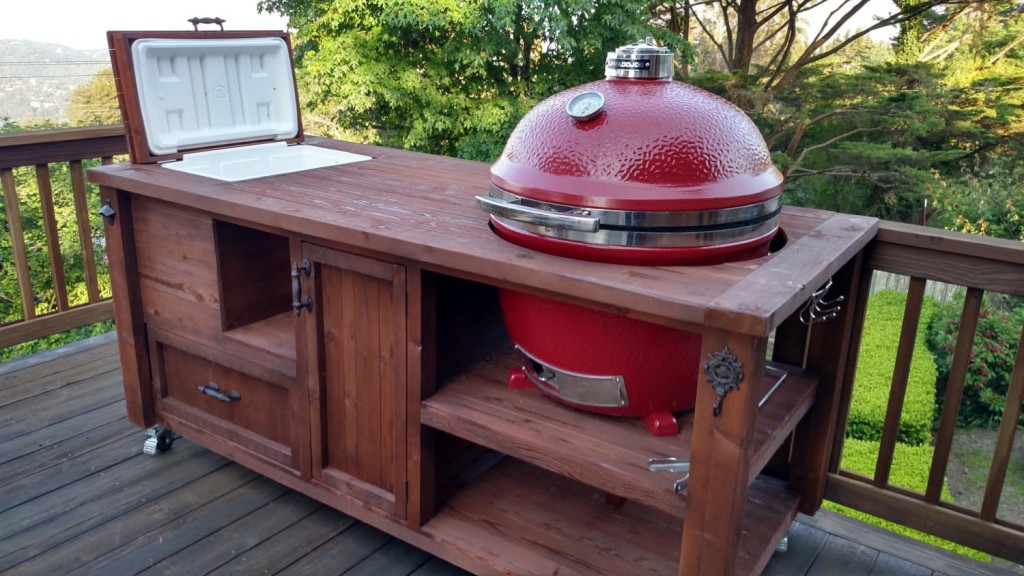
    13. Fire Pit with a Built-In Grill

    • Why it works: If you enjoy cooking outdoors, a fire pit with a built-in grill allows you to prepare food while relaxing by the fire. Seating around this area becomes even more important for guests to enjoy the experience.
    • What to include: Pair a fire pit grill with long benches or dining chairs for easy access to food.

    14. Fire Pit with Pergola or Gazebo

    • Why it works: Adding a pergola or gazebo over the fire pit area provides shade and protection, especially for rainy weather or sunny days.
    • What to include: Comfortable seating like cushioned chairs or sofas under the structure to create a more sheltered, cozy environment.

    15. Beachy Fire Pit Lounge

    • Why it works: A beach-style seating arrangement with sands, comfy cushions, and lightweight chairs gives a laid-back, coastal vibe perfect for fire pit lounging.
    • What to include: Lightwood or wicker seating with bright-colored cushions and tropical accessories for a beachy, casual vibe.

    Tips for Fire Pit Seating Area Design:

    • Keep Safety in Mind: Avoid placing flammable furniture too close to the fire pit. Opt for stone, concrete, or metal seating that can withstand the heat.
    • Comfort and Durability: Choose weather-resistant cushions or upholstery designed specifically for outdoor furniture.
    • Accessibility: Ensure there’s enough space for everyone to sit comfortably and that the layout encourages easy movement around the fire pit.
    • Lighting: Enhance the mood by adding ambient lighting such as string lights, lanterns, or LED pathway lights.

    With these fire pit seating area ideas, you can turn your backyard into a warm, welcoming retreat for friends and family, making it a perfect place to relax, cook, and enjoy the outdoors year-round!

  • How Tabletop Fire Pit Can be Done?

    How Tabletop Fire Pit Can be Done?

    A DIY tabletop fire pit is an excellent way to add a cozy, warm ambiance to your outdoor or indoor space without the need for large, complex setups. These smaller fire pits are a perfect addition to dining areas, patios, or even coffee tables, providing warmth and a lovely focal point for gatherings. Best of all, you can make one yourself with simple materials, making it both an affordable and fun project. Below is a step-by-step guide to creating your own tabletop fire pit.

    Materials Needed:

    • Fireproof base bowl: Any polygonal or round shape, preferably metal (this will hold the fire).
    • Photo frames: Several frames (depending on the size of your bowl), preferably with glass that can be removed.
    • Metal mesh: A cheap grill grate or a metal sheet to create a barrier inside the fire pit.
    • Glass glue: To attach the glass pieces from the photo frames to the metal base.
    • Gel fuel: A can of gel fuel, which is easy to use and safe for tabletop fire pits.
    • Decorative stones: Heat-resistant stones for decorative purposes and to ensure stability for the flame.
    • Tools: Scissors or metal cutters, a hot glue gun (for the mesh barrier), and a long lighter or match.

    Instructions:

    Step 1: Prepare the Base Bowl

    Start by choosing a fireproof base bowl of a size that suits your tabletop. It should be sturdy and large enough to accommodate the gel fuel can. Metal bowls work best because they can withstand the heat generated by the fire. If you have a metal base already, you’re ahead of the game.

    Step 2: Remove Glass from the Frames

    Take several photo frames and remove the glass from them. You’ll be using the glass to create the walls of your tabletop fire pit. The size of the frames should correspond with the size of your bowl.

    Step 3: Glue the Glass Pieces

    Using glass glue, attach the glass pieces from the photo frames to the edge of your metal base. This will form the walls of your fire pit. The glass should fit snugly around the edge, creating a container to hold the flame inside. Let the glue dry according to the manufacturer’s instructions, ensuring that it is secure before moving on to the next step.

    Step 4: Create the Mesh Barrier

    Cut a piece of metal mesh or use a grill grate to create a barrier that will rest inside the fire pit base. The mesh should fit inside the bowl and rest on its edges, coming up close to the glass walls. This mesh barrier will help separate the fuel from the decorative stones while still allowing the flame to burn safely. If needed, use a hot glue gun to secure the mesh.

    Step 5: Add Decorative Stones

    Once the mesh is in place, decorate your fire pit with heat-resistant stones. These stones can be arranged on top of the mesh or glued to the glass walls to add a more polished, aesthetically pleasing look. You can use natural stones or glass pebbles, ensuring they can withstand the heat from the flame.

    Step 6: Set Up the Gel Fuel

    Now, place a can of gel fuel inside the base of the fire pit. The gel fuel is safe, easy to use, and burns cleanly. Be sure the fuel can is positioned correctly to allow for proper burning. The mesh should not obstruct the flame too much.

    Step 7: Light the Fire Pit

    Once everything is set up, use a long lighter or match to light the gel fuel. Always follow the safety instructions provided with the gel fuel. Enjoy the warmth and ambiance of your DIY tabletop fire pit!

    Tips:

    • Safety First: Always use the fire pit in a well-ventilated area, especially when indoors, to prevent the buildup of dangerous gases.
    • Avoid Flammable Materials: Keep any flammable items away from your fire pit.
    • Monitor the Fire: Never leave the fire unattended. Make sure to turn it off when you’re finished using it.

    Creating a DIY tabletop fire pit is a simple, yet rewarding project that brings warmth and charm to any space. With just a few basic materials, you can make your own cozy, decorative fire feature. Whether you use it to warm up your outdoor gatherings or add a touch of flair to your indoor dining area, this fire pit will surely become a conversation starter. Plus, it’s a fun project that anyone can tackle with minimal tools and materials. Enjoy your custom-made fire pit and the inviting atmosphere it brings to your home!

  • Steel Fire Pit Perfect Idea

    Steel Fire Pit Perfect Idea

    A steel fire pit is an excellent choice for those who enjoy outdoor activities but don’t want to deal with the complexities of building a permanent structure. It provides a safe and efficient way to create a fire in your backyard or while camping, keeping your firewood in place and preventing damage to your lawn. Additionally, steel fire pits can be used for cooking, making them a versatile addition to any outdoor space. Here’s a deeper dive into why a steel fire pit is a great option and how you can go about acquiring or creating one.

    Benefits of a Steel Fire Pit:

    1. Portability:
      One of the best features of a steel fire pit is its portability. Whether you’re setting up in your backyard or taking it with you on a camping trip, a steel fire pit is easy to move around. Many models are lightweight enough to be packed up and transported to your campsite or cabin without hassle.
    2. Safety:
      Steel fire pits are designed to contain the flames securely, preventing the fire from spreading. This is especially important when you’re in a natural setting like a forest, veld, or campground, where dry leaves, grass, or fallen branches could easily catch fire. By using a steel fire pit, you can ensure that the flames stay contained and don’t cause accidental wildfires.
    3. Minimal Ground Damage:
      A steel fire pit helps protect your lawn or the ground beneath it by containing the fire and preventing heat from directly reaching the soil. This is important for keeping your outdoor space in good condition, especially if you’re using the fire pit regularly.
    4. Versatility:
      A steel fire pit isn’t just for warmth; many models are designed for cooking as well. You can use your steel fire pit to grill vegetables, cook marshmallows, or even prepare meals while camping or having a backyard barbecue. Some fire pits come with grill grates or cooking surfaces, making them multi-functional.
    5. Aesthetic Appeal:
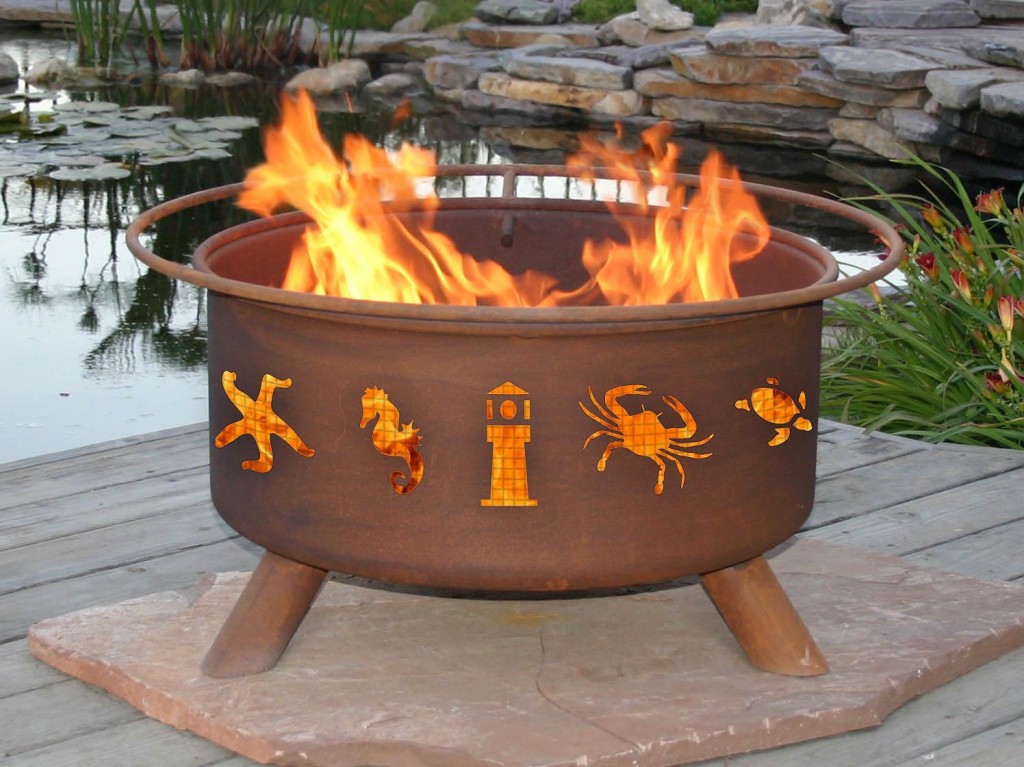
      Steel fire pits often come in sleek, modern designs that can complement the aesthetics of your backyard or patio. Whether you choose a drum design, bowl, cauldron, or ring, you can find a steel fire pit that suits your style and adds a touch of industrial charm to your outdoor space.

    DIY Steel Fire Pit:

    If you’re interested in making your own steel fire pit, there are a few important steps and materials involved. However, constructing a steel fire pit requires specific skills and tools. Here’s what you need to know:

    Materials Needed:

    • Steel sheets or drum: You can repurpose a steel drum or use flat sheets of steel for the construction.
    • Welding apparatus: You’ll need a welding machine to fuse the pieces of steel together.
    • Metal cutting tools: Depending on your design, you may need tools like a plasma cutter or metal saw to shape and cut the steel to size.
    • Grinder: For smoothing edges and ensuring there are no sharp parts.
    • Heat-resistant paint (optional): This will help protect the steel from corrosion and high temperatures.

    Steps to Build a Steel Fire Pit:

    1. Design:
      The first step is to decide what type of fire pit you want to build. You can opt for a simple drum fire pit, a more elaborate bowl design, or even a cauldron-style pit. Sketch out your design and gather measurements to ensure everything fits together properly.
    2. Cut the Steel:
      Depending on your design, you’ll need to cut the steel sheets or drum into the necessary parts. If you’re using a steel drum, you can cut it in half to create a large, round fire pit.
    3. Assemble the Pieces:
      Once your steel parts are cut to size, begin welding them together to form the walls of the fire pit. Make sure each piece is aligned correctly and use the welding machine to attach the edges. If you’re building a bowl-shaped fire pit, welding will be crucial to ensure the structure is stable and secure.
    4. Finish the Edges:
      After welding, use a grinder to smooth out any sharp edges. This will prevent any injuries when handling or sitting near the fire pit.
    5. Add Airflow Holes:
      To ensure proper ventilation and prevent the fire from suffocating, drill small holes at the bottom of the fire pit to allow air to circulate. This will help the fire burn more efficiently.
    6. Optional Finish:
      If desired, apply heat-resistant paint to the outside of the fire pit to protect it from the elements. This will also help preserve its appearance over time.
    7. Use and Enjoy:
      Once your steel fire pit is complete, fill it with gravel or other heat-resistant material at the bottom. Then, you’re ready to use it for warmth, cooking, or simply enjoying the ambiance of a crackling fire.

    Purchasing a Steel Fire Pit:

    If DIY isn’t your thing, purchasing a pre-made steel fire pit is an excellent alternative. You’ll find a variety of options available on the market, from compact, portable models to larger, more decorative designs. When purchasing a steel fire pit, consider factors like:

    • Size: Choose a fire pit that fits your space and the number of people you want to gather around it.
    • Material Quality: Ensure the steel is durable and heat-resistant. Some models are made of thicker steel, which will last longer and handle higher temperatures.
    • Design: Pick a design that matches your outdoor style and aesthetic. Some fire pits come with built-in grill grates or cooking surfaces, while others are purely for warmth and ambiance.

    A steel fire pit is a fantastic investment for anyone who enjoys spending time outdoors. Whether you’re using it in your backyard or on a camping trip, a steel fire pit offers a safe, portable, and efficient way to enjoy fire without the hassle of permanent construction. If you’re comfortable with welding and cutting steel, you can make your own, or you can easily find a ready-made option to fit your needs. Either way, a steel fire pit will provide warmth, ambiance, and a space for cooking, making it an essential feature for any outdoor enthusiast.

  • Getting Inspired by Flagstone Fire Pit

    Getting Inspired by Flagstone Fire Pit

    Building a flagstone fire pit is a fantastic way to bring a rustic, medieval charm to your backyard or patio. This type of fire pit creates a warm, inviting atmosphere, with its timeless aesthetic and natural stone appeal. Here’s a more detailed breakdown of how to construct a flagstone fire pit, whether you’re building it yourself or purchasing a kit.

    Materials Needed:

    • Flagstone bricks (these can be purchased as part of a kit or individually)
    • Metal fire pit insert (steel ring or bowl)
    • Masonry cement (for securing the stones)
    • Gravel or decorative stones (to fill the inside of the fire pit)
    • Capstones (for the final row to finish the top)
    • Shovel and other digging tools
    • Level (to ensure the stones are placed evenly)
    • Measuring tape (for accurate placement)

    Steps to Build a Flagstone Fire Pit:

    1. Choose the Location:
      Before you begin, make sure to choose a location away from overhanging trees, structures, or anything that can catch fire. A fire pit should be placed on a solid, level surface, such as gravel or bare ground, which can handle the heat and weight of the structure. Make sure it’s also easily accessible and in a spot where people can gather comfortably around it.
    2. Dig the Base Hole:
      Begin by digging a hole about 6 to 12 inches deep. The size of the hole should be based on the diameter of the fire pit you want to create. This depth will help with drainage and prevent the fire pit from shifting over time. The hole should be wide enough to fit the first layer of flagstones.
    3. Add a Gravel Base:
      Once the hole is dug, fill the bottom with gravel. This will allow for proper drainage and prevent water from pooling at the bottom of your fire pit. The gravel also provides stability for the flagstones and helps to secure the structure in place. Spread the gravel evenly across the base and tamp it down.
    4. Lay the First Layer of Flagstones:
      Start laying the first layer of flagstones in a circle around the hole. Use your level to ensure that each stone is flat and level. The first layer is crucial, as it sets the foundation for the rest of the structure. Lay the stones tightly together, leaving no gaps between them. Use masonry cement to secure each stone in place as you go.
    5. Add More Layers:
      After the first layer is in place, continue laying additional rows of flagstone. As you lay each layer, shift the stones slightly so they overlap the joints of the row below (similar to how bricks are laid). This creates a more stable, interlocking structure. Ensure that each layer is level and secured with masonry cement.
    6. Place the Metal Fire Pit Insert:
      Once you’ve laid 3 to 4 layers of flagstones, it’s time to place the metal fire pit insert inside the circle. The insert will contain the fire and prevent the stone from being exposed to direct heat. This insert is usually made of steel and can be a bowl or a steel ring that fits snugly inside the stone walls. Ensure that the insert is centered and sits evenly.
    7. Add Gravel or Decorative Stones:
      Fill the space inside the fire pit insert with gravel or other decorative stones. These stones help with airflow and allow for better heat distribution. You can also add some lava rocks for a more decorative effect, which also helps with heat retention.
    8. Finish with Capstones:
      The last step is to add the capstones to the top of the wall. These stones sit on the final row and give the fire pit a finished, clean look. Capstones are typically flat, wider stones that cover the edges of the walls, creating a smooth, stable surface.
    9. Let the Cement Set:
      Allow the masonry cement to cure for at least 24-48 hours before using the fire pit. This ensures that the stones are securely in place and the structure is stable.

    Additional Tips:

    • Customization: Flagstone fire pits can be customized with additional features like built-in seating around the perimeter or decorative stone patterns.
    • Safety: Make sure your fire pit is placed at a safe distance from any structures, trees, or flammable materials. Have a fire extinguisher or a bucket of water nearby when using the fire pit.
    • Maintenance: To keep the flagstones looking fresh, occasionally clean the stones and inspect the mortar to ensure it’s intact.

    A flagstone fire pit is a classic, beautiful addition to any backyard or patio, providing a focal point for gatherings and a cozy space to enjoy the outdoors. By following the simple steps above, you can create your own fire pit that not only adds charm and warmth to your outdoor space but also becomes a lasting centerpiece for your family and friends to enjoy for years to come. Whether you buy a pre-cut kit or gather your own materials, building a flagstone fire pit is a rewarding project that will enhance the atmosphere of your outdoor living area.

  • Fire Pit Bench Extraordinary and Stylish

    Fire Pit Bench Extraordinary and Stylish

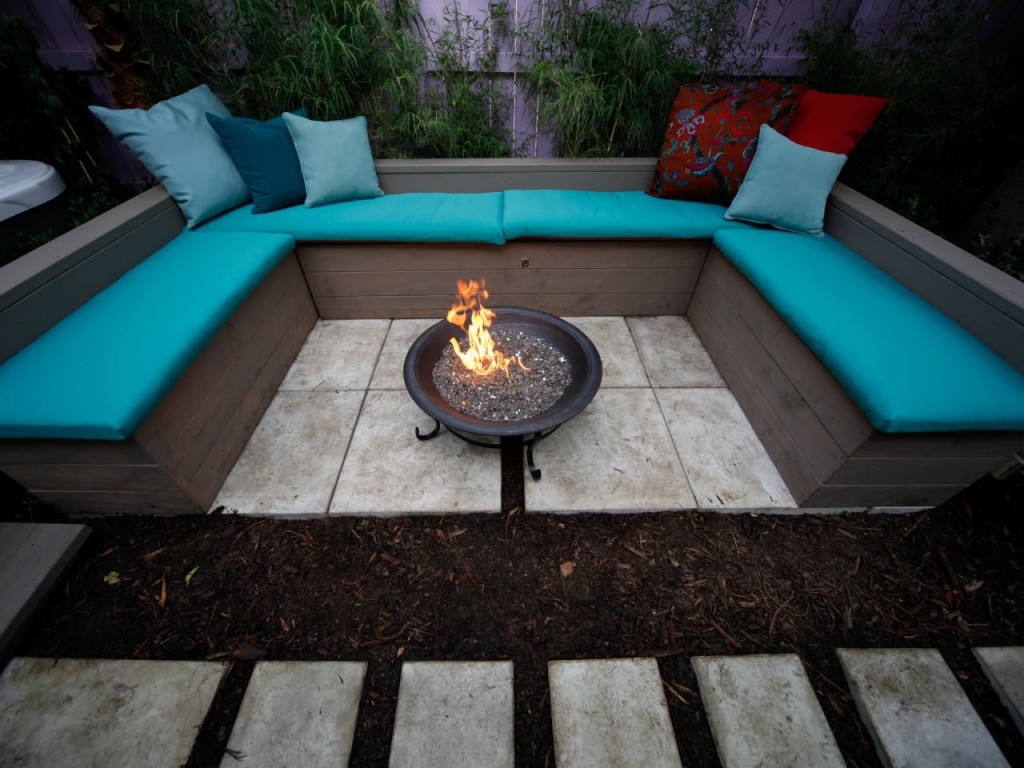
    A fire pit bench is an excellent addition to any outdoor gathering space, offering both functionality and comfort. Not only does it provide ample seating for guests, but it also creates a cozy, communal environment around the fire pit, where everyone can enjoy the warmth and camaraderie of a shared flame. Whether you’re hosting a casual evening with friends or spending a relaxing night with family, a fire pit bench enhances the overall experience, making it more enjoyable and social.

    Benefits of a Fire Pit Bench:

    1. Maximizes Seating: One of the main advantages of a fire pit bench is its ability to seat more people than traditional chairs or smaller seating options. By surrounding the fire pit with a bench, you can create a larger and more inclusive space for everyone to gather around, making it perfect for group events or family get-togethers.
    2. Comfort and Convenience: Benches are often more comfortable and relaxed than individual chairs, especially for extended periods of sitting. Plus, they can be built to accommodate many people at once, so no one has to sit far from the fire, ensuring a more intimate setting.
    3. Nostalgic Feel: A fire pit bench creates a nostalgic, campfire-like atmosphere, reminiscent of summer nights spent around a bonfire. This old-school charm adds to the warmth and appeal of your backyard or patio.
    4. Customization Options: Fire pit benches come in various designs, from traditional straight styles to more modern curved options. Some benches even have backs for added comfort, while others might be designed to fit snugly around a circular fire pit for a more cohesive look.
    5. Affordable and DIY-Friendly: Building a fire pit bench yourself is not only cost-effective, but it’s also a fun and rewarding project. With just a few basic materials, you can create a custom bench that perfectly fits your space and style.

    Design Ideas for Fire Pit Benches:

    1. Straight and Simple Bench: The most basic and classic option, a straight bench is easy to build and doesn’t require a lot of extra effort. This design works well if you have a rectangular or square fire pit and want to create a simple seating arrangement.
    2. Curved Fire Pit Bench: For a more stylish, seamless look, a curved fire pit bench is ideal for round or circular fire pits. This design allows you to maximize the seating around the fire and adds a visually appealing touch to your outdoor space.
    3. Bench with Back: If you prefer extra comfort, a fire pit bench with a backrest is a great option. It provides support for your back, making it more comfortable for long periods of sitting. This style can be easily customized to fit your fire pit’s size and shape.
    4. Modular Benches: If you want flexibility, you can create modular benches that can be moved or rearranged as needed. These can be used to create different seating configurations depending on the size of the group or the layout of your fire pit area.
    5. Add Soft Cushions: To make your bench even more comfortable, consider adding soft cushions or throw pillows. These can be placed on top of the bench, especially if you’ve chosen a hard surface like wood or metal. Not only will they add extra comfort, but they’ll also bring a pop of color and style to the space.

    DIY Fire Pit Bench:

    Building your own fire pit bench is a relatively easy and affordable project that anyone with basic woodworking skills can complete. Here’s how you can do it:

    Materials Needed:

    • Wooden planks and bars (for the seat and legs)
    • Screws and electric screwdriver
    • Wood finish or paint (optional)
    • Saw (for cutting the wood to size)
    • Measuring tape
    • Wooden brackets (optional for added stability)

    Steps:

    1. Plan and Measure: First, determine the dimensions of your fire pit bench. Consider how many people you want it to seat and how much space is available around your fire pit. Use a measuring tape to plan the exact size and shape of your bench.
    2. Cut the Wood: Once you have your measurements, cut the wooden planks and bars to the appropriate sizes. You’ll need enough wood to create the seat, legs, and back (if desired). You can either cut the wood yourself or have it pre-cut at the hardware store.
    3. Assemble the Bench: Start by attaching the legs to the seat using screws. If you’re adding a backrest, measure and attach the back support to the seat. Use a level to ensure everything is aligned properly before screwing the pieces together.
    4. Finishing Touches: If you want a polished look, apply a finish or paint to the wood to protect it from the elements. This will also help enhance the appearance of the bench and ensure it lasts longer.
    5. Install and Enjoy: Place your fire pit bench around your fire pit, making sure it’s positioned safely and comfortably for your guests. Add cushions or decorative pillows for extra comfort and style.

    Conclusion:

    A fire pit bench is a fantastic way to enhance your outdoor space by offering comfortable seating while creating a warm, inviting atmosphere around your fire pit. Whether you opt for a simple DIY design or choose a more elaborate, store-bought bench, it’s a great way to make your fire pit area more functional and stylish. With the added benefit of maximizing seating, a fire pit bench ensures that everyone can enjoy the warmth and beauty of the fire together. Plus, it’s an affordable and easy DIY project that anyone can tackle with basic materials and tools.

  • Korean BBQ Table is Really a Perfect Option

    Korean BBQ Table is Really a Perfect Option

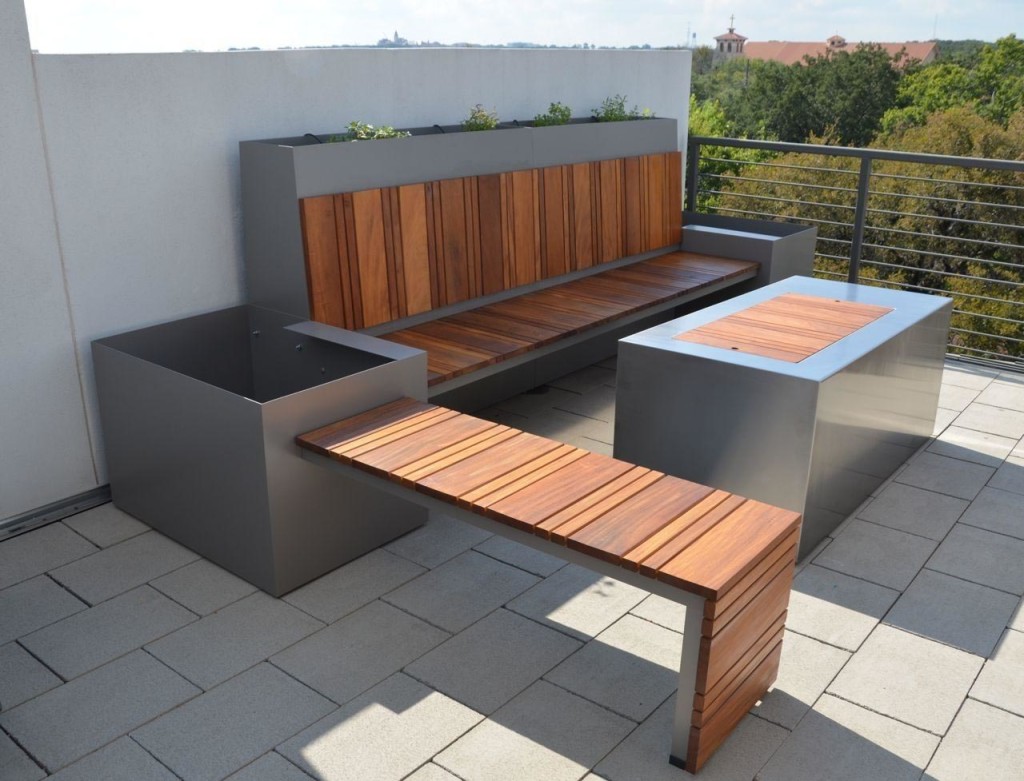
    A Korean BBQ table is a unique and functional piece of furniture that combines a traditional dining table with a built-in grill, perfect for those who love spending time outdoors while enjoying a delicious barbecue meal with family and friends. This concept, popular in Korea, has gained worldwide attention due to its practicality and social aspect. It provides the ideal setting for grilling meats, vegetables, and other dishes right at the table, making it a great centerpiece for any outdoor gathering.

    Benefits of a Korean BBQ Table:

    1. Social Interaction: One of the best features of a Korean BBQ table is the social experience it offers. Instead of a traditional barbecue where someone cooks the food, everyone around the table participates in cooking their own food. This makes for a more interactive and engaging dining experience.
    2. Comfortable Dining: The table is designed with comfort in mind. Whether you’re enjoying the warmth from the grill in cooler weather or simply sitting around a cozy fire, the design ensures that everyone is comfortable while eating and cooking.
    3. Customizable Design: Korean BBQ tables come in various shapes (round, square, or oval) and sizes to accommodate different group sizes, from intimate dinners to larger gatherings. Some designs even feature multiple grills, so guests can cook at their own pace.
    4. Durability: These tables are typically made from durable materials such as painted metal, natural stone, or ceramic tiles. They are built to withstand the heat from the grill and are resistant to moisture, making them perfect for outdoor use in all weather conditions.
    5. Visual Appeal: The centerpiece of the Korean BBQ table is the grill itself, which adds a visually striking element to your outdoor space. Watching the fire or embers while cooking creates a relaxing and entertaining atmosphere.
    6. Cooking Flexibility: Whether you prefer your meat well-done or rare, the Korean BBQ table allows guests to control their cooking preferences. It’s a fun and personalized way to enjoy food, where everyone can cook to their liking.

    Materials for Korean BBQ Tables:

    Korean BBQ tables can be made from various materials, each offering different aesthetics and durability:

    • Metal: Painted metal tables are durable, easy to clean, and often come with intricate patterns or designs. They are also highly resistant to heat.
    • Stone: Natural stone tops provide a more rustic and sophisticated look. These tables are also durable and excellent at heat retention.
    • Ceramic Tiles/Mosaics: A ceramic or mosaic top adds a decorative and colorful touch to the table, making it not just functional but also a beautiful feature in your outdoor area.

    Building Your Own Korean BBQ Table:

    If you’re up for a DIY project, building a Korean BBQ table can be a rewarding experience. Here’s a simple guide to get started:

    Materials Needed:

    • Table frame: You can use wood, metal, or stone for the frame, depending on your preference.
    • Grill insert: Purchase a tabletop grill designed for BBQ purposes or build one with a metal surface that allows heat to pass through.
    • Heatproof surface material: Ceramic tiles, stone, or metal to surround the grill area.
    • Tools: Drill, screws, wood or metal saw, heat-resistant sealant.

    Steps:

    1. Design the Table: Decide on the shape and size of the table. Draw out the design, keeping in mind how many people you want to seat and the layout of the grill.
    2. Build the Frame: Construct the frame using your chosen material. Make sure the grill insert can fit securely in the center of the table.
    3. Install the Grill: If you’re using a pre-made grill, ensure it fits snugly in the table. If building your own, create a recessed area in the center for the grill to sit, ensuring that it’s stable and level.
    4. Create the Surface: Lay your heatproof material around the grill to protect the table surface and add a decorative touch.
    5. Finish: Sand down any rough edges and apply a protective coating to the wood or metal frame. If you’re using ceramic or stone tiles, make sure they’re sealed and securely placed.

    Whether you purchase a Korean BBQ table or build your own, it’s a great addition to any outdoor space, allowing you and your guests to enjoy delicious grilled food while socializing. The combination of functionality, comfort, and social interaction makes it an essential piece for anyone who loves outdoor dining. Whether you opt for a customized design or take on a DIY project, a Korean BBQ table is sure to become the highlight of your gatherings.

  • How DIY Concrete Fire Pit Ideas

    How DIY Concrete Fire Pit Ideas

    Building a DIY concrete fire pit is a fantastic way to enhance your outdoor space and create a cozy, functional gathering spot for family and friends. Concrete fire pits are not only durable but also versatile, allowing you to customize the design to suit your preferences. Here’s a step-by-step guide to help you build your own concrete fire pit, along with key considerations for safety and durability.

    Key Considerations:

    • Safety: Before you start, ensure that the fire pit is placed in a safe location—far from trees, buildings, and anything flammable. Make sure that children and pets can’t easily access the fire pit area.
    • Utility lines: Contact your utility company to check for any underground utilities before digging. This is essential to avoid damaging water, gas, or electrical lines.
    • Solid foundation: The ground for your fire pit should be solid and level to ensure stability.

    Materials and Tools Needed:

    • Wooden planks (for the form)
    • Metal rebars (for reinforcement)
    • Concrete mix (sand, gravel, and cement)
    • Gravel (for filling inside the pit)
    • Decorative rocks (for finishing touches)
    • Paint or spray (to mark the area)
    • Shovel and tamper (for digging and compacting the ground)
    • Drill (to create holes for rebars)
    • Wire and matting (optional for extra reinforcement)

    Step-by-Step Guide to Build a DIY Concrete Fire Pit:

    Step 1: Prepare the Site

    • Choose a location: Find a safe, level area for your fire pit, away from trees and buildings. The ground should be solid and compact to avoid sinking over time.
    • Mark the area: Use spray paint or markers to outline the size and shape of your fire pit. This will help ensure accurate measurements during construction.

    Step 2: Build the Form

    • Create the form: Use wooden planks to create both the interior and exterior molds for the fire pit. The exterior form will be the outer wall, and the interior form will create the hollow space where the fire will burn.
    • Reinforcement: Place metal rebars vertically at the corners of the form and add horizontal pieces between them to create a sturdy structure. This reinforcement will add strength to the concrete and prevent cracking over time.
    • Wire and matting: If needed, you can add wire mesh or matting inside the form to provide additional support.

    Step 3: Prepare the Concrete Mix

    • Mix the concrete: Combine sand, crushed stone, and cement in the correct proportions. The mixture should be thick enough to hold its shape when poured but not too dry.
    • Pour the concrete: Fill the space between the forms with the concrete mix, making sure it’s evenly distributed. You may need to tap the sides of the form to remove air bubbles.
    • Level the surface: Use a board or trowel to smooth the top of the concrete to the desired level.

    Step 4: Allow the Concrete to Set

    • Let the concrete set for at least 24 hours to allow it to harden properly. Depending on the weather, it may need longer to fully cure. Avoid disturbing the concrete during this time to prevent cracks.

    Step 5: Remove the Form

    • After the concrete has set, carefully remove the wooden form. Be gentle during this process to avoid damaging the edges of the fire pit.
    • Inspect for defects: Concrete can sometimes have minor defects, so inspect your pit for any cracks or imperfections. These can sometimes be repaired with touch-up work if necessary.

    Step 6: Add Final Touches

    • Fill with gravel: Once the concrete structure is ready, fill the bottom of the fire pit with gravel. This helps with drainage and heat distribution. Aim to fill about three-fourths of the fire pit’s volume with gravel.
    • Install the fire pit bowl: If you’re using a DIY concrete fire pit bowl, place it into the center of the pit. This bowl acts as the actual fire-burning container.
    • Decorative rocks: Fill the space between the fire pit bowl and the concrete walls with decorative rocks or lava stones to finish off the design. These rocks add to the visual appeal and can also help contain the fire.

    Step 7: Ready to Use!

    • Once your DIY concrete fire pit is complete and the finishing touches are in place, you can immediately start enjoying it. Gather your friends and family for a cozy evening around the fire.

    Tips for Longevity:

    • Cover your fire pit when not in use to protect it from the elements, especially rain, which can cause concrete to degrade over time.
    • Regular maintenance: Check the fire pit regularly for cracks or damage. If you notice any issues, repair them promptly to avoid further damage.
    • Fuel: For the best experience, use fire-safe logs or fire pit-friendly fuel. Avoid using wet or untreated wood, as it may release harmful chemicals and create excess smoke.

    Building a DIY concrete fire pit is an enjoyable and rewarding project that adds both functionality and aesthetic appeal to your outdoor space. With careful planning, the right materials, and a bit of effort, you can create a beautiful and durable fire pit that will be a focal point for years to come. Enjoy your new fire pit and the warmth it provides for family gatherings, parties, and cozy evenings!

  • DIY Gas Fire Pit Creative Way

    DIY Gas Fire Pit Creative Way

    A DIY gas fire pit can be a fantastic addition to your backyard, offering both warmth and ambiance with an easy-to-maintain setup. Not only are gas fire pits efficient, but they are also cleaner and often safer than traditional wood-burning fire pits, as they require no wood or messy ash cleanup. Let’s walk through the key steps and considerations for building a DIY gas fire pit.

    Key Considerations for Building a DIY Gas Fire Pit:

    1. Safety First:
      • Always prioritize safety. Ensure that your gas fire pit is installed in a well-ventilated area, far from trees, branches, bushes, or any flammable objects.
      • Have fire prevention equipment on hand, such as fire extinguishers, a hose, or a bucket of sand, especially if you’re working with gas.
    2. Proper Materials:
      • Gas components: It’s important to purchase the right components, such as a gas burner, gas lines, and a propane tank (if using propane) or natural gas supply (if available). Don’t attempt to make these parts yourself, as improper installation could lead to dangerous outcomes like explosions or leaks.
      • Always buy from a trusted supplier or specialized online service to ensure you’re getting safe, certified parts for the job.
      • Firebricks: Use firebricks for building the fire pit walls. Firebricks are designed to withstand high temperatures and are perfect for creating a durable and safe structure around the gas burner.
    3. Designing Your Gas Fire Pit:
      • Glass box: For a modern and sleek look, you can build your fire pit using a glass box or concrete bowl. The glass allows you to enjoy the view of the flames while protecting the surrounding area from direct exposure to heat.
      • Brick design: If you prefer a more traditional look, you can build the walls using firebricks. A round or square shape works well for most gas fire pits, but you can also get creative with custom shapes.
      • Hole for the gas pipe: Make sure to leave space for a gas line. If using firebricks, create a hole in one brick to accommodate the gas pipe. This ensures the gas flows properly to the burner.

    Step-by-Step Guide to Building a DIY Gas Fire Pit:

    1. Choose the Location

    • Find a flat, level area for your fire pit. Ensure the area is at least 10 feet away from any structure, trees, or other potential hazards.
    • Avoid placing the fire pit under overhanging branches or close to any flammable materials.

    2. Prepare the Foundation

    • Dig a hole: Start by digging a shallow hole (about 4-6 inches deep) where you want to place the fire pit. This helps with stability and ensures that the structure is secure.
    • Gravel layer: Add a layer of gravel at the bottom of the pit for drainage. This ensures that water doesn’t accumulate in the base and damage your fire pit over time.

    3. Build the Walls

    • Use firebricks: Stack firebricks in a circular or square formation to build the walls of your fire pit. Firebricks can withstand high temperatures, making them perfect for this type of construction.
    • No mortar required: While mortar can be used, many DIY enthusiasts prefer dry-stacking the bricks for easier repairs and adjustments.
    • Leave a gap: Ensure that you leave a gap for the gas line to pass through. If you’re using bricks, make sure one brick has a hole to accommodate the gas pipe.

    4. Install the Gas Burner

    • Place the gas burner: Position the gas burner at the center of your fire pit. The burner will connect to the gas line and be the source of the flame.
    • Gas line connection: Use a certified gas line to connect your burner to the propane tank or natural gas source. Be sure to follow safety guidelines and check for leaks after installation.

    5. Add Decorative Materials

    • Lava rocks or glass beads: Once your gas burner is in place, you can cover the top of the pit with lava rocks or fire glass. These materials will help distribute the heat and create an attractive flame effect.
    • Glass box option: If you’re using a glass box for the design, place the burner inside and use the glass to contain the fire while still offering a great view.

    6. Test the Fire Pit

    • Before using the fire pit, test it to ensure that the gas is flowing properly and that there are no leaks.
    • Turn on the burner and check if the flames are steady and consistent. Adjust the flame height as necessary.

    Additional Safety Tips:

    • Regular inspections: Always inspect your gas fire pit regularly for signs of wear, leaks, or damage.
    • Gas shut-off valve: Ensure that your gas fire pit has an easily accessible shut-off valve in case of emergencies.
    • Cover your pit: When the fire pit is not in use, cover it to protect it from the elements and extend its lifespan.
  • Facts How to Build a Brick Fire Pit for You

    Facts How to Build a Brick Fire Pit for You

    Building a brick fire pit is a rewarding project that brings warmth, beauty, and a cozy space for your backyard gatherings. Below is a detailed guide to help you create your own brick fire pit with ease and safety, ensuring it lasts for many years.

    Materials Needed:

    • Firebricks (specially designed to withstand high temperatures)
    • Gravel (for the base layer)
    • Concrete mix (for the foundation)
    • Spray paint (to mark circles for layout)
    • Non-flammable decorative materials (like pebbles, gravel, or stone for decorative finishes)
    • Optional materials: glass (if you want to add a unique touch)

    Tools Required:

    • Shovel (for digging the pit)
    • Wheelbarrow (to move materials like gravel and concrete)
    • Hand tamper (for compacting gravel and concrete)
    • Measuring tape or string (to measure and mark layout)
    • Jigsaw (optional, if cutting bricks is necessary)

    Step-by-Step Instructions:

    1. Plan Your Design and Mark the Area

    First, it’s important to visualize your design. Draw the project on paper to determine the dimensions and shape of your fire pit. The most common design is a circular fire pit, but you can also create a square or rectangular one, depending on your preferences.

    • Mark the circles: Use a string tied to a central point to help you measure the inner and outer circles. The inner circle should be the size of the fire pit, and the outer circle is where the brick walls will go. Keep a 12-inch gap between the inner and outer circle.
    • Use spray paint: Spray paint the layout on your backyard to ensure accurate measurements.

    2. Dig the Hole

    Once your layout is marked, it’s time to dig the hole:

    • Dig the center: Start by digging out the inner circle to a depth of about 6-12 inches. Make sure the bottom of the hole is level.
    • Dig the outer area: Dig around the outer circle, which should be deeper than the inner circle to create a stable base for the fire pit. The depth of this trench can vary depending on your design, but 8-10 inches should be adequate.

    3. Prepare the Foundation

    After digging the hole, it’s time to lay the foundation.

    • Fill the bottom: Spread a layer of gravel at the bottom of the hole for proper drainage. This helps prevent water from collecting in the fire pit and also provides a solid base for the construction.
    • Mix concrete: Prepare a concrete mix and pour it in the space between the inner and outer circles to form the foundation. Use the hand tamper to compact the concrete, ensuring it’s level and smooth.

    4. Build the Outer and Inner Walls

    Once the foundation is set, you can start building the fire pit walls using firebricks.

    • Outer wall: Begin by laying the firebricks along the outer circle. If you prefer, you can use mortar between the bricks to hold them in place, but it’s possible to build a stable fire pit without mortar as well. Some people prefer a dry stack method to make repairs easier down the line.
    • Inner wall: Build the inner wall of the fire pit with firebricks as well. The inner wall should have a slightly smaller diameter than the outer wall to create a comfortable, contained space for the fire. The height of the walls should be about 12-18 inches, but it can vary based on personal preference.

    5. Let the Walls Set

    Once the walls are built, leave them to set for a few hours or overnight, depending on whether you’re using mortar or just dry stacking the bricks. The walls need time to stabilize before moving on to the next steps.

    6. Install the Fire Pit

    Now that your foundation and walls are set, you can place the fire pit into the center. If you’re using a metal insert or a pre-made fire pit, make sure it fits snugly inside the brick walls.

    7. Decorative Finishing

    For the finishing touches, add non-flammable decorative materials between the inner wall and the fire pit itself. This can include rocks, stones, or gravel to make the space look visually appealing. This layer also provides additional insulation and helps protect the fire pit from direct contact with the surrounding bricks.


    Final Tips:

    • Safety: Always ensure that your fire pit is placed a safe distance from trees, structures, or anything flammable. Make sure the area is clear of debris before using the fire pit.
    • Ventilation: If you decide to build a closed fire pit with a lid or covering, be sure there’s proper ventilation to prevent smoke buildup.
    • Cover the Pit: When not in use, it’s advisable to cover your fire pit to protect it from rain and moisture, especially if you’ve used mortar, to avoid any water damage.