Building a deck fire pit can be a fantastic addition to your outdoor space, providing both a functional and cozy atmosphere. Having a fire pit on your deck can help you create a warm, inviting environment for gatherings with family and friends. Here’s a guide to creating a deck fire pit and some important considerations to make sure it’s safe and effective.


Deck Fire Pit Ideas and Considerations
1. Safety First
- Deck Material: If your deck is made of wood, you’ll need to be extra cautious. Wood is flammable, so you’ll want to ensure that the fire pit is built with fire-resistant materials and is placed far enough away from the edges of the deck. You might want to consider using a fire-resistant pad or a stone base underneath the fire pit to provide extra protection.
- Distance from Structures: Position the fire pit at least 10 feet away from walls, railings, furniture, or any flammable objects. This distance helps prevent heat damage and reduces the risk of the fire spreading.
- Ventilation: Ensure your fire pit is located in an open area with proper airflow. This will help the fire burn efficiently and keep the smoke from accumulating.
2. Fire Pit Designs
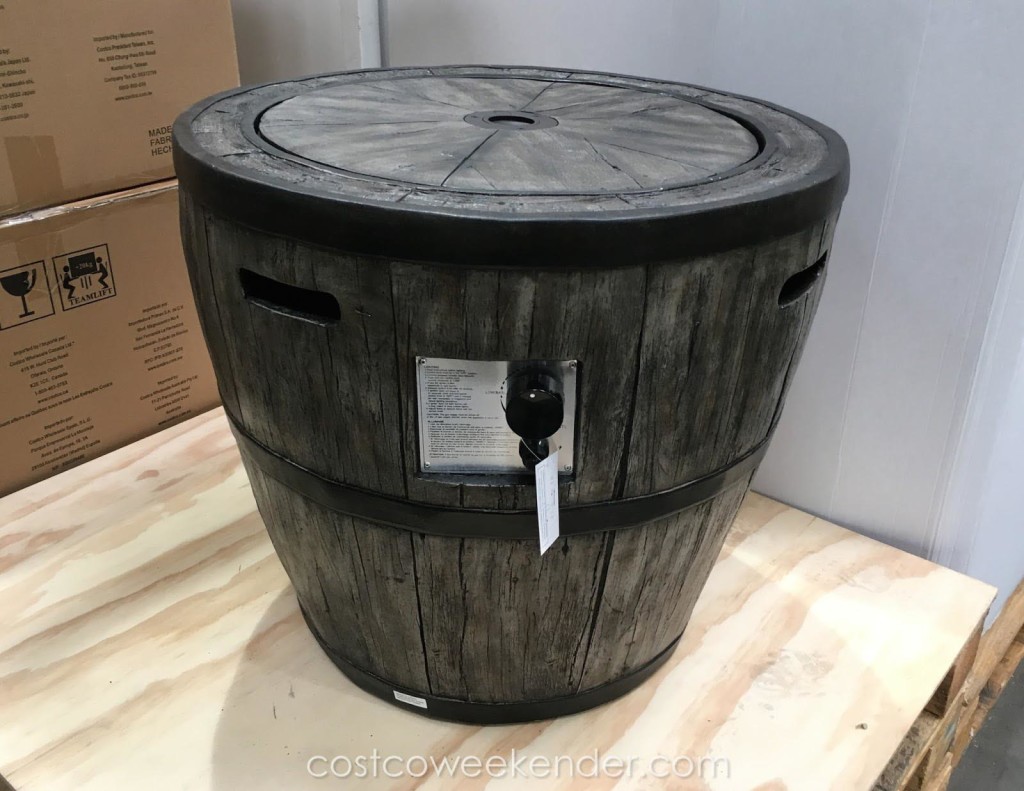
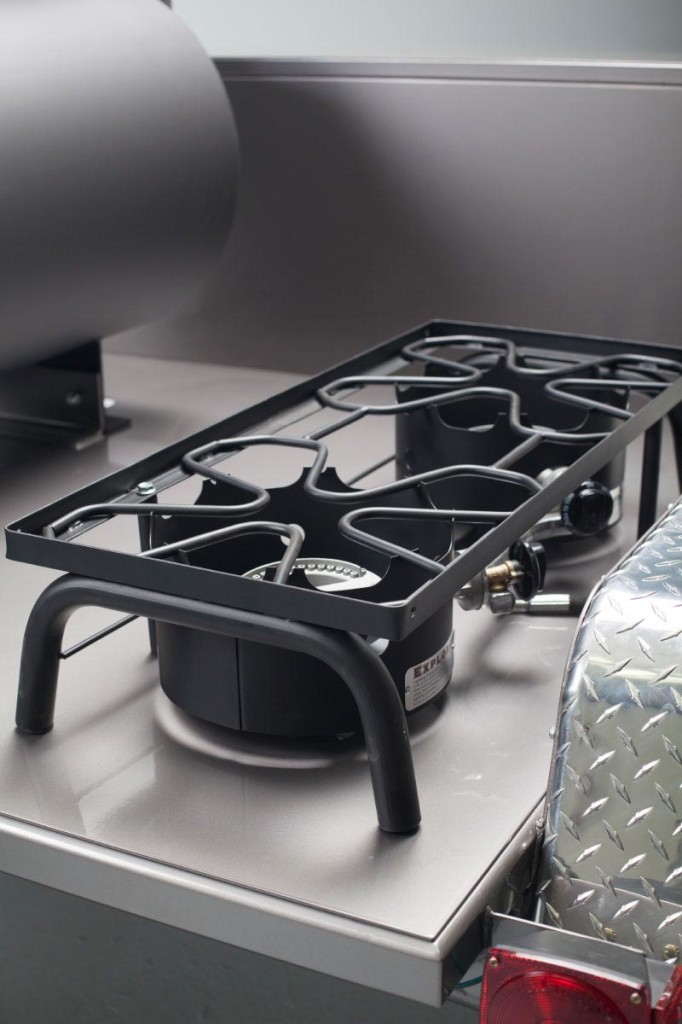
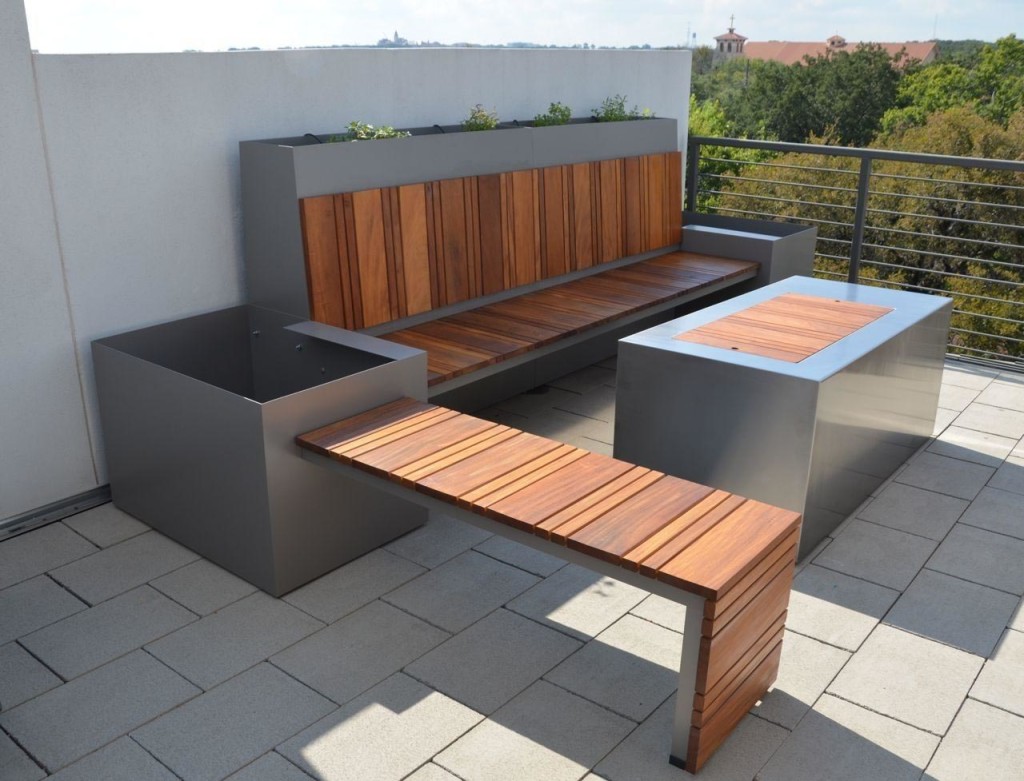
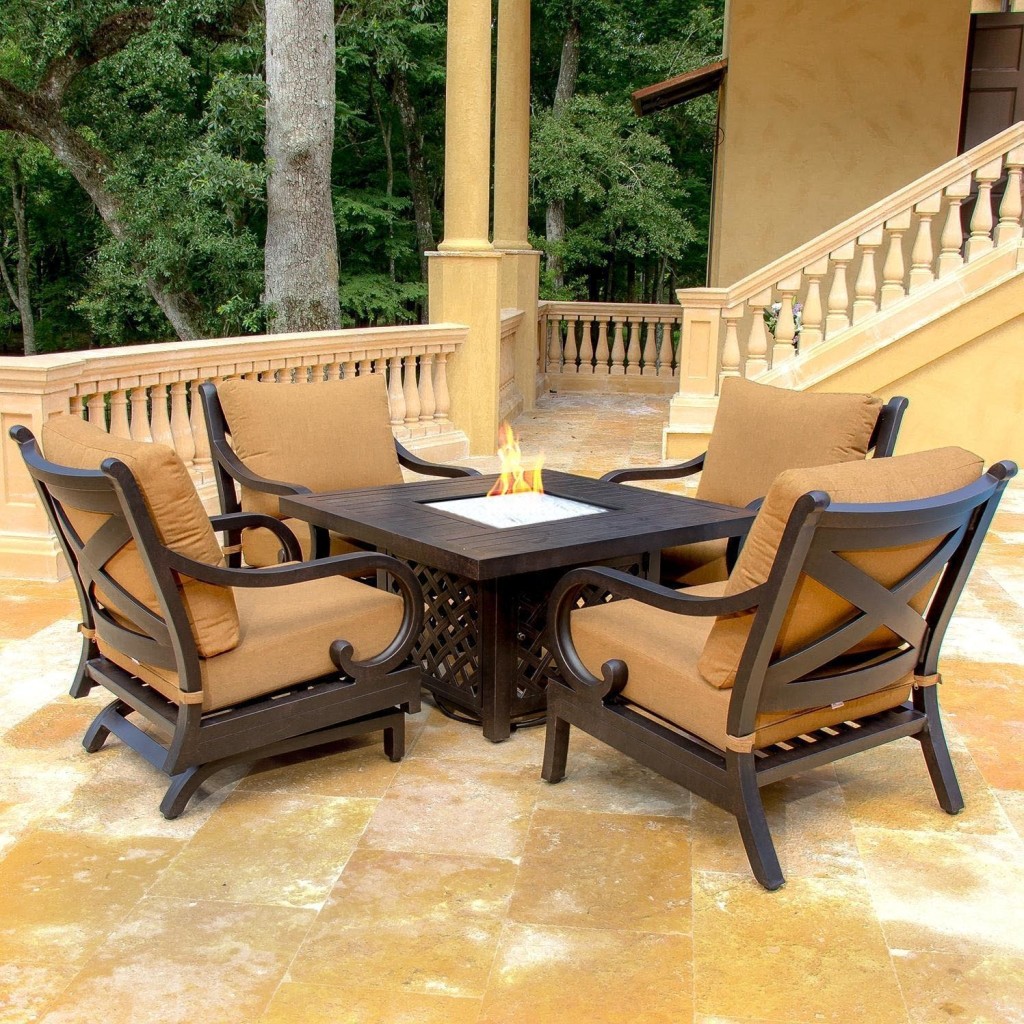
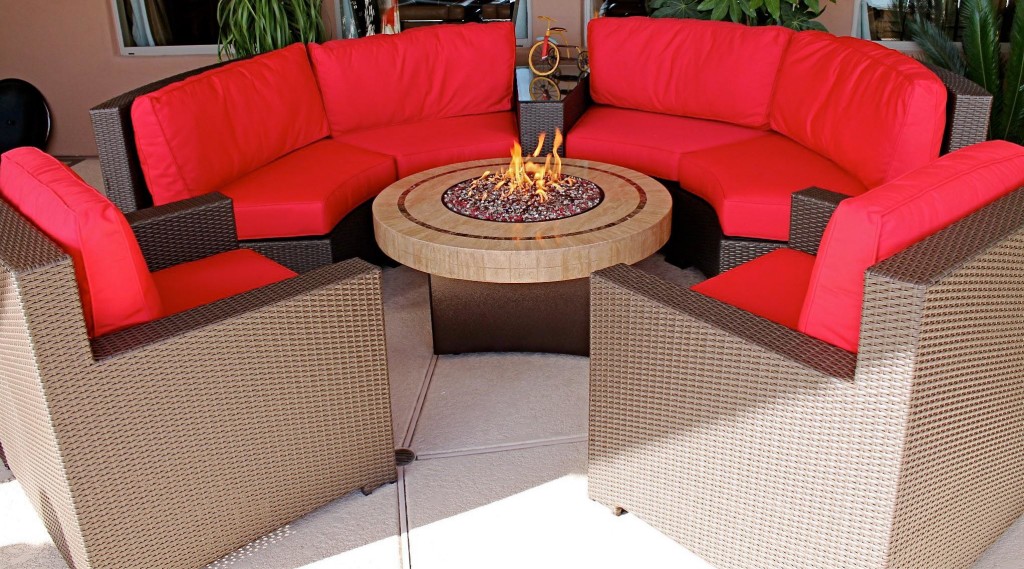
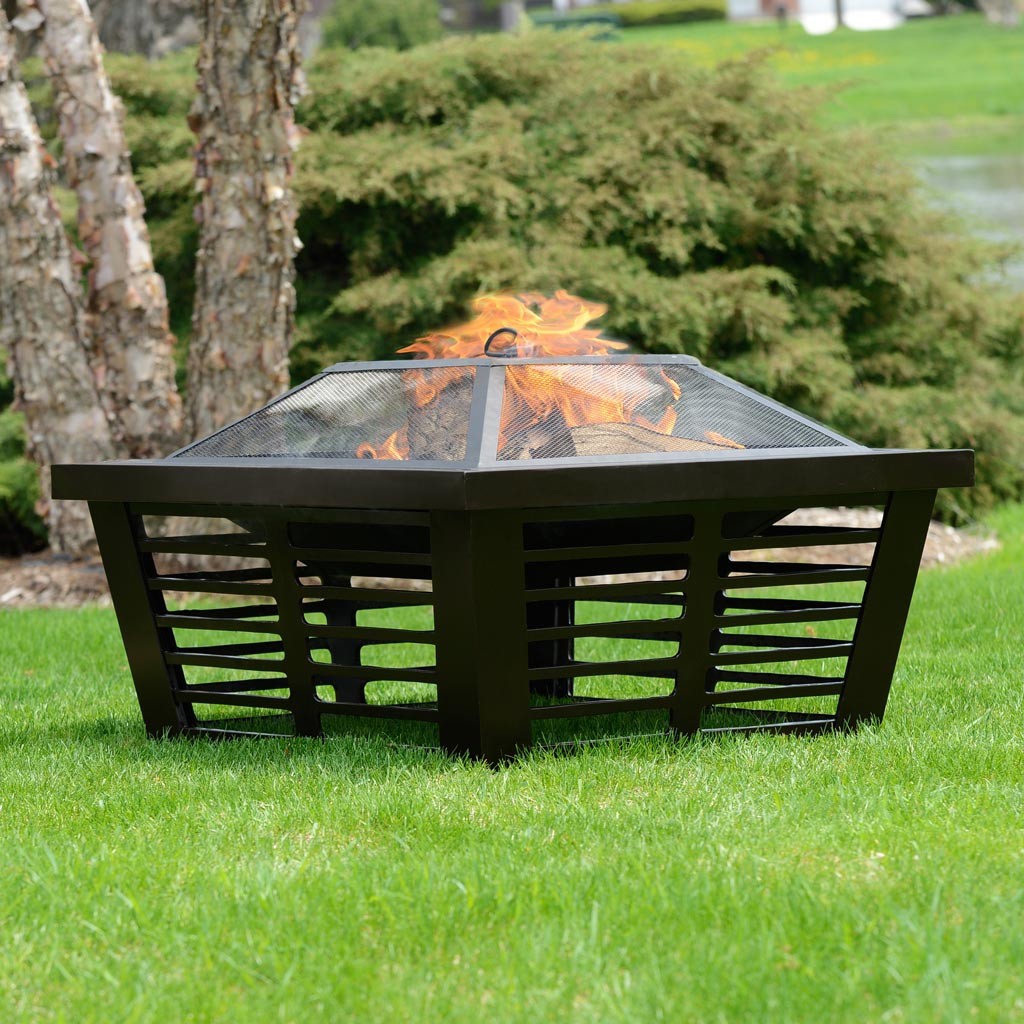
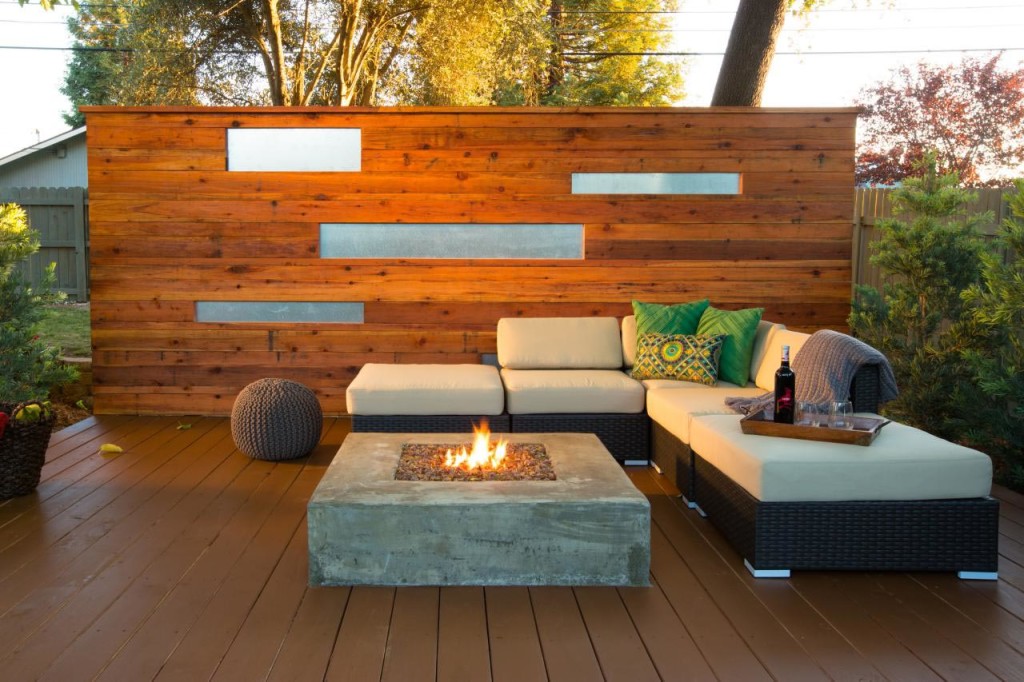
- Table-Style Fire Pit: This type of fire pit doubles as a functional table, giving you the best of both worlds. It’s often fueled by propane or natural gas and is perfect for small, intimate gatherings. These fire pits are usually safe for deck use because the flame is contained within the table itself.
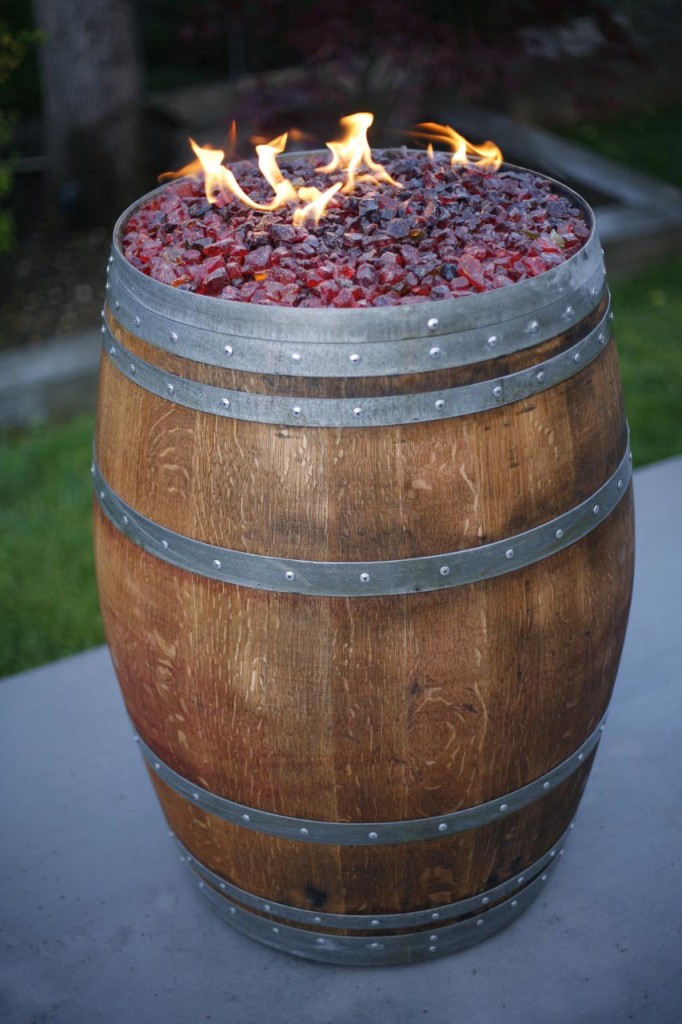
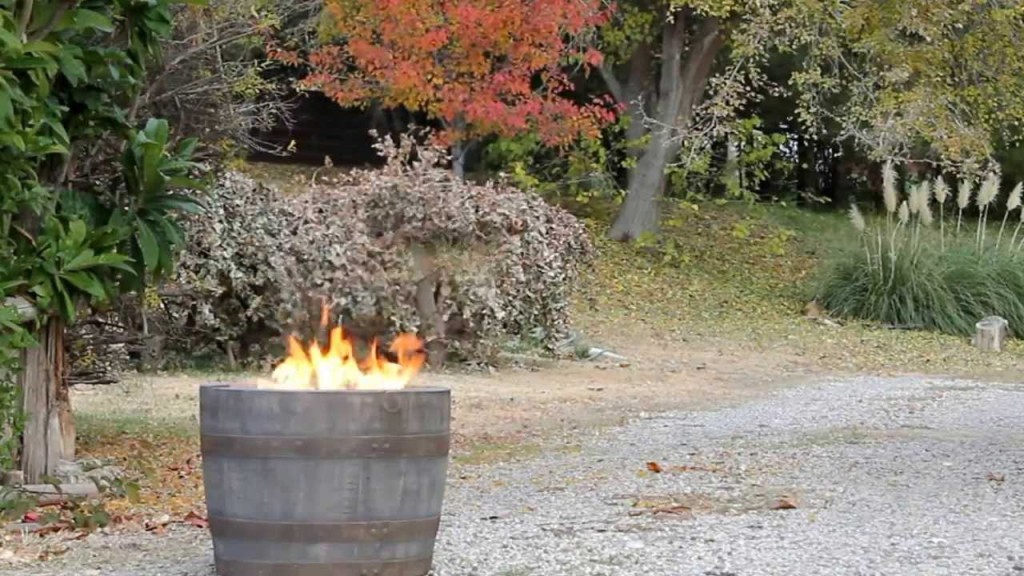
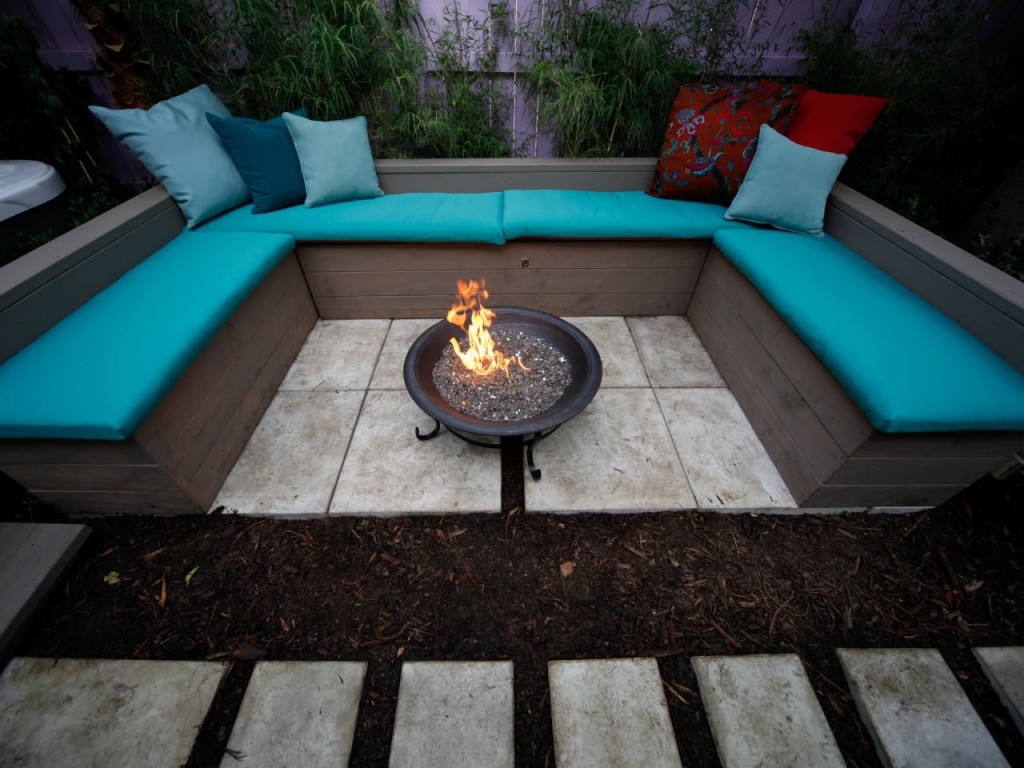
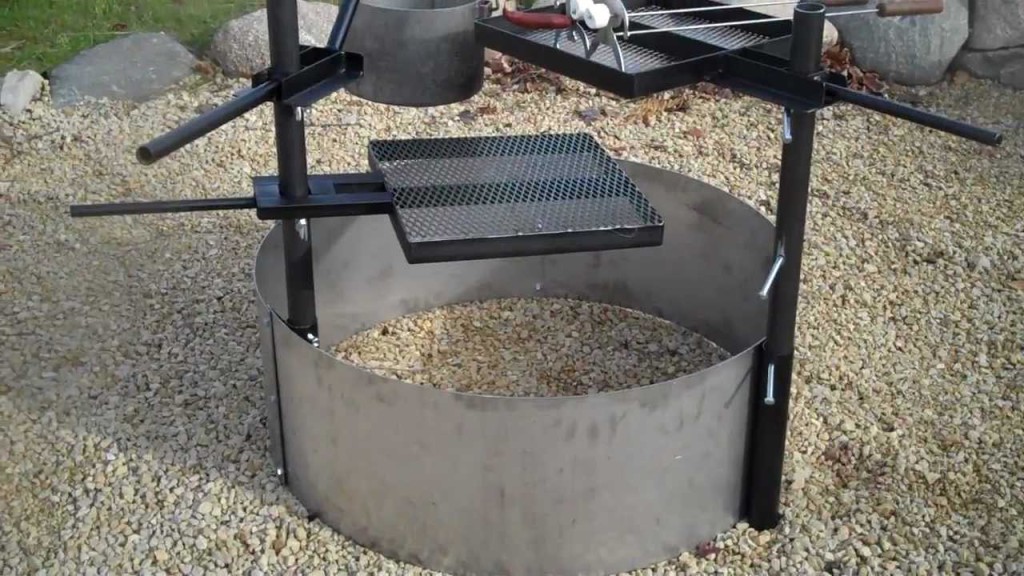
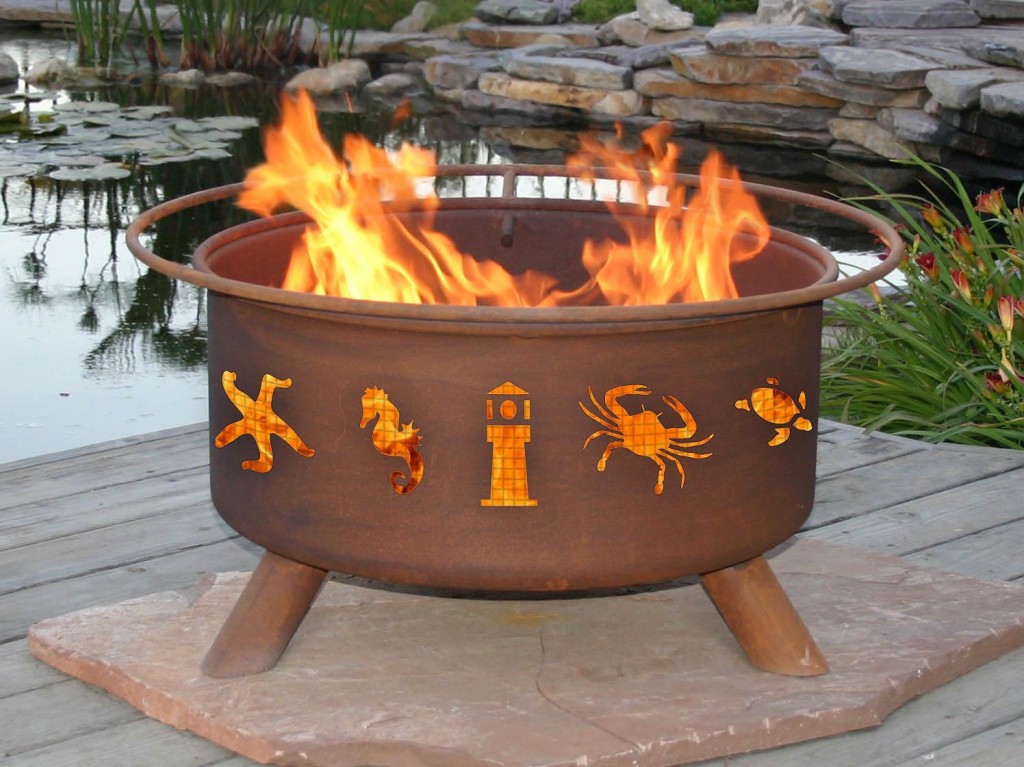
- Bowl-Style Fire Pit: A traditional option, where the fire is contained within a metal or stone bowl. These are more rustic and have a classic appeal, but you’ll need to ensure they’re placed safely on the deck with a non-flammable surface underneath.
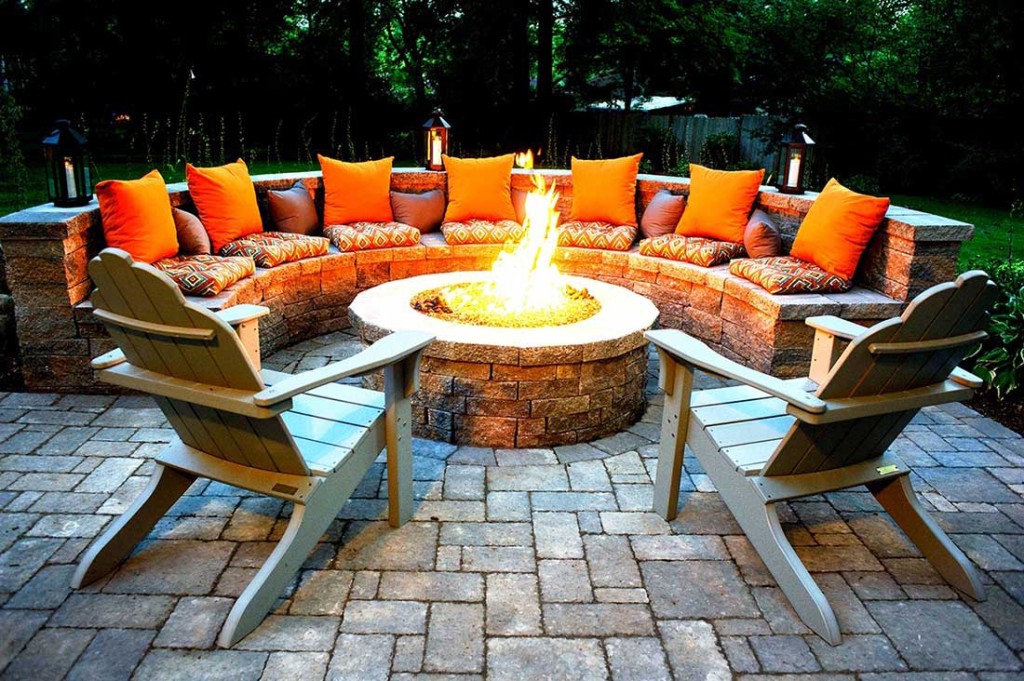
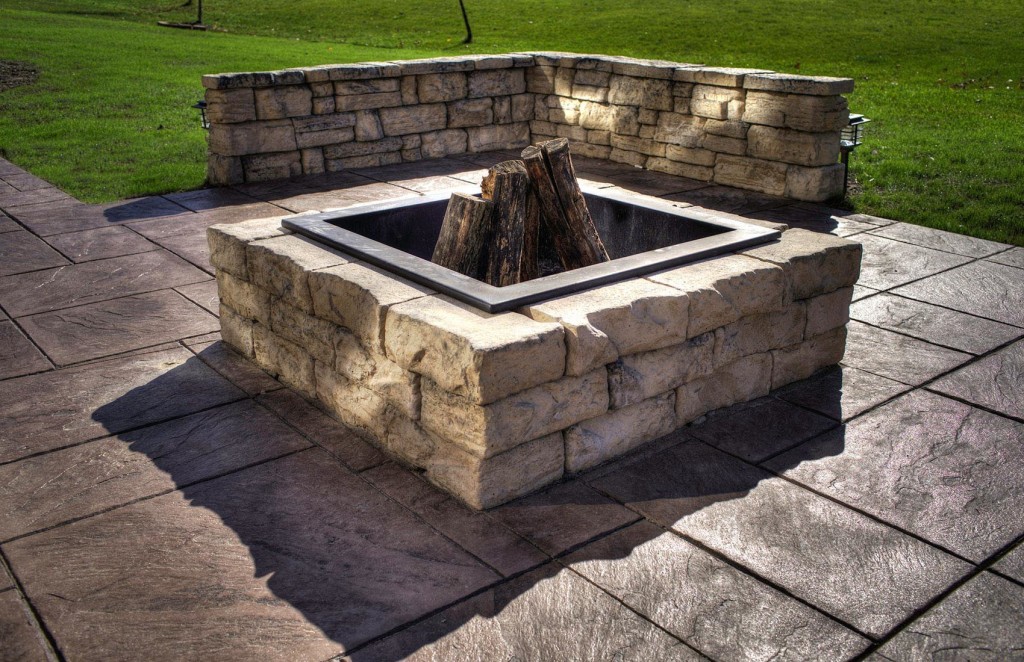
- Stacked Fire Pit: These are similar to stone or brick fire pits and can be customized to suit the style of your deck. This option can be semi-permanent and is ideal for creating a more structured look.
3. Installation Process
If you decide to build a fire pit directly on your deck, follow these steps:
Materials Needed:
- Fireproof surface (e.g., heat-resistant stone tiles or metal)
- Fire pit (either pre-built or DIY)
- Gravel or sand (to fill the base)
- Fire-resistant tiles (optional for covering)
- Metal ring (if building a bowl-style fire pit)
- Grill or grate (optional for cooking)


Steps:
- Choose the Spot: Select a location on your deck that’s at least 10 feet away from any structure or railing. Ensure it’s level and spacious enough for the fire pit.
- Prepare the Surface: If your deck is wooden, you may want to use a fire-resistant mat or build a stone base where the fire pit will sit to prevent any damage. If using tiles or bricks, ensure they’re heat-resistant to avoid cracking under the flame’s heat.
- Position the Fire Pit: Place your fire pit on the prepared surface. For bowl-style fire pits, fill the bottom with gravel or sand to create drainage and a stable base.
- Decorate the Surroundings: To enhance the aesthetic, you can use stone tiles, decorative rocks, or even Christmas lights around the fire pit to create a cozy, inviting atmosphere. String lights are an affordable and simple way to add visual appeal without compromising safety.
- Test the Setup: Before lighting the fire pit for the first time, ensure that the area around it is clear of flammable items. Check for sufficient ventilation to avoid smoke buildup, and ensure the fire pit is stable.
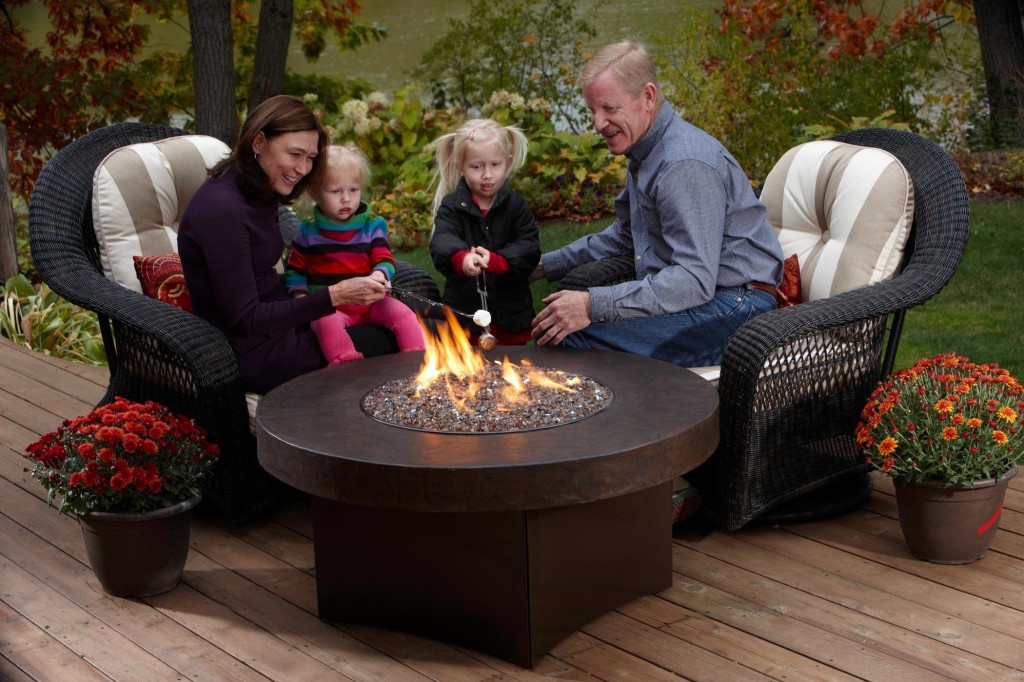
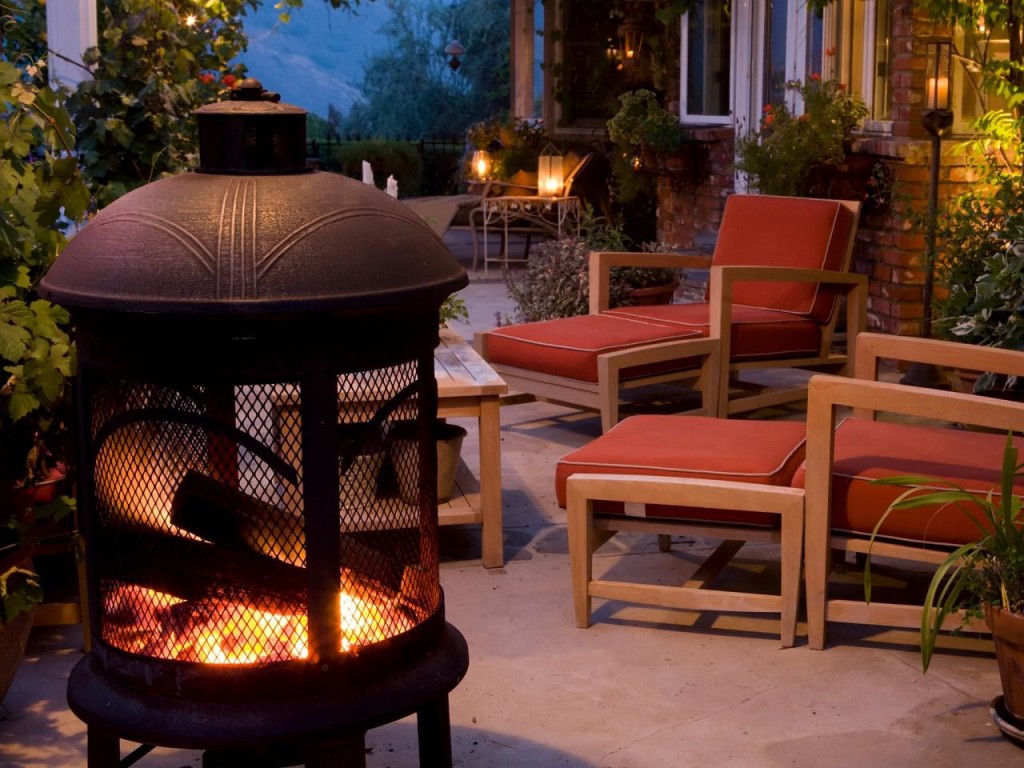
4. Enjoying Your Deck Fire Pit
Once everything is set up, you can enjoy the warmth and atmosphere that the fire pit brings to your deck. It’s perfect for evening relaxation, casual gatherings, or even for roasting marshmallows with the family. Make sure to always follow safety precautions, especially if you’re using wood-burning fire pits, as these can produce more intense heat and sparks.
Alternative: DIY Deck Fire Pit Design
If you’re looking to build a DIY fire pit specifically for your deck, here’s a simple guide:
- Materials:
- Fire-resistant stone or brick
- Fireproof grout or mortar
- Heat-resistant metal or stone for the base
- Instructions:
- Build the frame of the fire pit using fireproof bricks or stones. Start with a sturdy base, then stack the bricks in a circle, making sure the stones fit tightly together.
- Leave a ventilation gap between the layers to allow airflow.
- Use fireproof mortar to seal the gaps and make the structure stable.
- Gravel or sand inside will act as insulation for the fire and will prevent the heat from affecting the deck.
- Once the structure is complete, you can decorate the outer sides with additional tiles or stones for a custom look.
A deck fire pit can be a great way to enhance your outdoor space, offering both functionality and visual appeal. With the right safety precautions, materials, and careful planning, you can create an inviting space where you and your guests can enjoy warmth, light, and good times. Whether you choose a simple bowl fire pit or a more complex table-style fire pit, this addition will transform your deck into a cozy outdoor retreat, perfect for relaxation or entertainment.