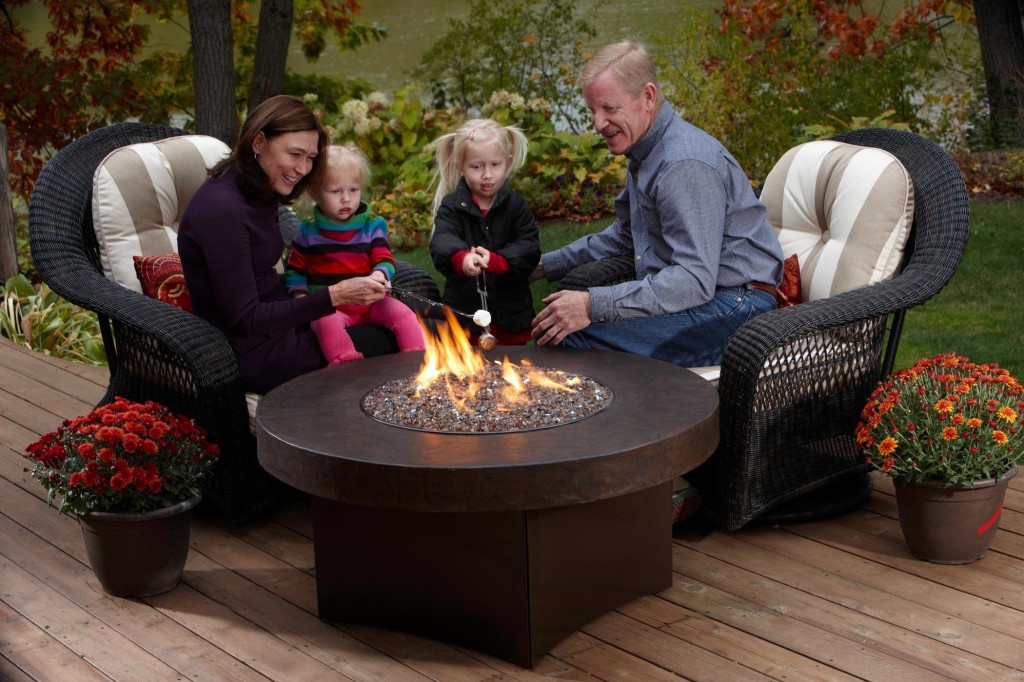
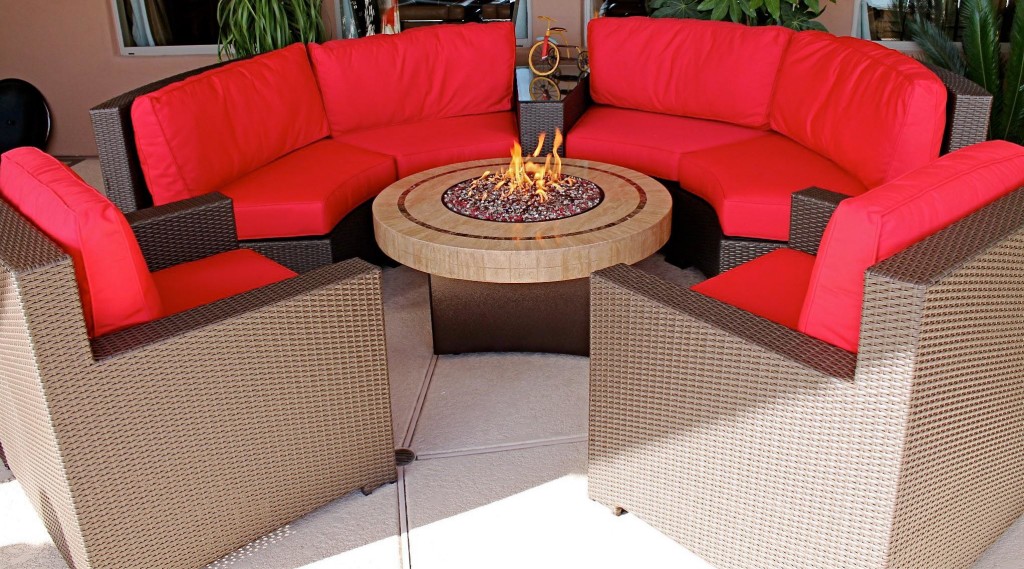
A DIY tabletop fire pit is an excellent way to add a cozy, warm ambiance to your outdoor or indoor space without the need for large, complex setups. These smaller fire pits are a perfect addition to dining areas, patios, or even coffee tables, providing warmth and a lovely focal point for gatherings. Best of all, you can make one yourself with simple materials, making it both an affordable and fun project. Below is a step-by-step guide to creating your own tabletop fire pit.


Materials Needed:
- Fireproof base bowl: Any polygonal or round shape, preferably metal (this will hold the fire).
- Photo frames: Several frames (depending on the size of your bowl), preferably with glass that can be removed.
- Metal mesh: A cheap grill grate or a metal sheet to create a barrier inside the fire pit.
- Glass glue: To attach the glass pieces from the photo frames to the metal base.
- Gel fuel: A can of gel fuel, which is easy to use and safe for tabletop fire pits.
- Decorative stones: Heat-resistant stones for decorative purposes and to ensure stability for the flame.
- Tools: Scissors or metal cutters, a hot glue gun (for the mesh barrier), and a long lighter or match.
Instructions:
Step 1: Prepare the Base Bowl
Start by choosing a fireproof base bowl of a size that suits your tabletop. It should be sturdy and large enough to accommodate the gel fuel can. Metal bowls work best because they can withstand the heat generated by the fire. If you have a metal base already, you’re ahead of the game.
Step 2: Remove Glass from the Frames
Take several photo frames and remove the glass from them. You’ll be using the glass to create the walls of your tabletop fire pit. The size of the frames should correspond with the size of your bowl.
Step 3: Glue the Glass Pieces
Using glass glue, attach the glass pieces from the photo frames to the edge of your metal base. This will form the walls of your fire pit. The glass should fit snugly around the edge, creating a container to hold the flame inside. Let the glue dry according to the manufacturer’s instructions, ensuring that it is secure before moving on to the next step.
Step 4: Create the Mesh Barrier
Cut a piece of metal mesh or use a grill grate to create a barrier that will rest inside the fire pit base. The mesh should fit inside the bowl and rest on its edges, coming up close to the glass walls. This mesh barrier will help separate the fuel from the decorative stones while still allowing the flame to burn safely. If needed, use a hot glue gun to secure the mesh.
Step 5: Add Decorative Stones
Once the mesh is in place, decorate your fire pit with heat-resistant stones. These stones can be arranged on top of the mesh or glued to the glass walls to add a more polished, aesthetically pleasing look. You can use natural stones or glass pebbles, ensuring they can withstand the heat from the flame.
Step 6: Set Up the Gel Fuel
Now, place a can of gel fuel inside the base of the fire pit. The gel fuel is safe, easy to use, and burns cleanly. Be sure the fuel can is positioned correctly to allow for proper burning. The mesh should not obstruct the flame too much.
Step 7: Light the Fire Pit
Once everything is set up, use a long lighter or match to light the gel fuel. Always follow the safety instructions provided with the gel fuel. Enjoy the warmth and ambiance of your DIY tabletop fire pit!
Tips:
- Safety First: Always use the fire pit in a well-ventilated area, especially when indoors, to prevent the buildup of dangerous gases.
- Avoid Flammable Materials: Keep any flammable items away from your fire pit.
- Monitor the Fire: Never leave the fire unattended. Make sure to turn it off when you’re finished using it.
Creating a DIY tabletop fire pit is a simple, yet rewarding project that brings warmth and charm to any space. With just a few basic materials, you can make your own cozy, decorative fire feature. Whether you use it to warm up your outdoor gatherings or add a touch of flair to your indoor dining area, this fire pit will surely become a conversation starter. Plus, it’s a fun project that anyone can tackle with minimal tools and materials. Enjoy your custom-made fire pit and the inviting atmosphere it brings to your home!

Leave a Reply