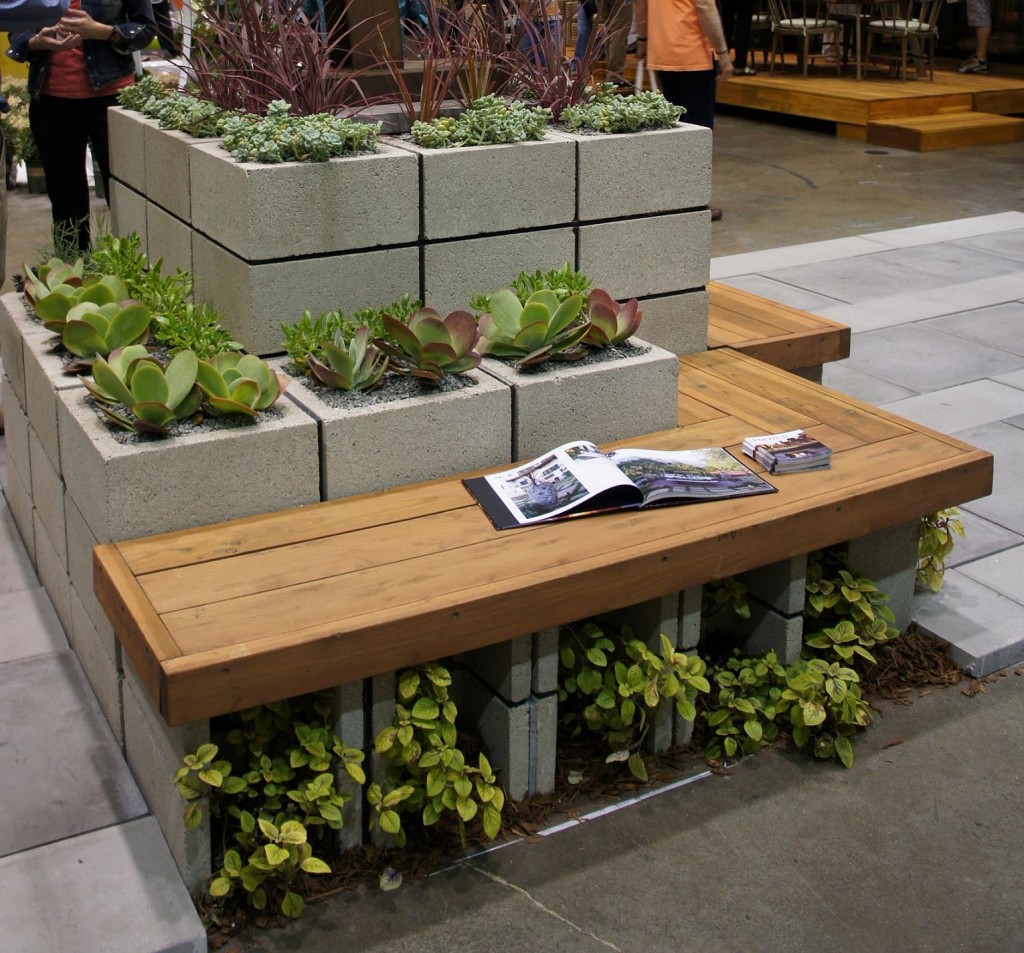
A block fire pit is an excellent addition to any backyard, offering a permanent, sturdy, and visually appealing fireplace. It’s not only a functional way to create a cozy gathering space, but it also provides a place to cook, enjoy the warmth, and enhance the beauty of your outdoor space. Whether you’re roasting marshmallows, having a BBQ, or just enjoying the ambiance of a crackling fire, a block fire pit can be built with ease and last for years.


Why Choose a Block Fire Pit?
Block fire pits are incredibly practical for a few key reasons:
- Durability: Cinder blocks and similar materials are long-lasting and able to withstand the heat of the fire without deteriorating quickly.
- Safety: A block fire pit creates a contained area for the fire, making it much safer than an open campfire. The walls of the pit prevent the fire from spreading and help to control the flame.
- Low Maintenance: A block fire pit is easy to maintain. The materials are simple, and the structure is solid, meaning it doesn’t require constant care.
- Functionality: You can use it for cooking, heating, and as a beautiful feature in your yard. It’s perfect for social gatherings or peaceful solo evenings by the fire.
Steps to Build a Block Fire Pit
1. Select the Right Location
The first step is choosing a suitable location for your fire pit. Here are some tips:
- Distance from Structures: Ensure the fire pit is placed at least 10-15 feet away from any structures, including trees, sheds, fences, or your home. This ensures safety and prevents the risk of sparks catching anything on fire.
- Spacious Area: Choose a flat and open space that is large enough to accommodate not only the fire pit but also additional features like seating, a table, or even a grill.
- Wind Protection: Ideally, pick a spot that is sheltered from strong winds to help keep the fire steady and prevent it from blowing out.
2. Gather Materials
For this DIY project, you’ll need:
- Cinder blocks or other durable masonry stones (you can opt for a different material depending on your aesthetic preference)
- Gravel or sand for the base
- Heat-resistant adhesive for securing the blocks
- Optional: Decorative stones, paint, or mosaics for the exterior
3. Mark the Area
Once you’ve chosen your location, it’s time to mark the area where your fire pit will be. Use a string or rope to outline a circle, square, or other shape you want for the fire pit’s perimeter. A typical fire pit diameter is about 3 feet, but you can adjust based on your space and preferences.
4. Dig the Foundation
- Dig a hole for the base of the fire pit, making sure it is around 6 inches deep.
- For the foundation, fill the bottom of the pit with gravel or sand. This will help with drainage and prevent the bottom of the pit from becoming waterlogged. Aim for at least 3 inches of gravel or sand.


5. Build the Walls
- Lay the first layer of blocks: Start with the first row of blocks along the perimeter of your marked area. If you’re using cinder blocks, stack them tightly, making sure they are level.
- Stack the blocks: Continue to stack the blocks in a circular or square shape, depending on your design. Each layer should fit snugly on top of the previous one, and you should use heat-resistant adhesive between the blocks to ensure they stay secure.
- Wall height: For the wall, aim for a height of 12-18 inches, but it should never exceed 36 inches (3 feet). The higher the wall, the more heat it will retain, but ensure you’re able to easily see and interact with the fire.
6. Optional Decorative Touches
- If you want your fire pit to stand out, consider decorating the exterior with colored stones, pebbles, or a mosaic pattern made from leftover tile pieces. This adds a personal touch and can make your fire pit look even more appealing.
- You can also paint your cinder block fire pit with heat-resistant paint to add some color or give it a more polished finish.
7. Install a Fire Pit Grate (Optional)
If you plan to cook on your fire pit, consider installing a grate or a skewer rack at the top of the pit. This allows you to grill food while enjoying the fire. Be sure the grate is made of durable, heat-resistant material like stainless steel.
8. Test the Fire Pit
Before using your fire pit for the first time, test it with a small fire. Ensure that the flame is contained and that there are no issues with the construction, such as loose blocks or a lack of airflow.
Final Tips:
- Stone or Block Color: If you find the gray of cinder blocks too plain, feel free to paint them with heat-resistant paint in colors that match your outdoor decor. You can also mix stones in different hues for a more natural, artistic appearance.
- Safety: Always keep a bucket of water or a fire extinguisher nearby when using the fire pit. Never leave the fire unattended.
- Wind Protection: To keep your fire burning steady, consider creating a wind shield or using natural barriers like shrubs or fences.
A DIY block fire pit is an easy, affordable way to add a permanent outdoor fireplace to your backyard. Not only will it provide a cozy space for warmth and cooking, but it will also be an attractive feature in your yard. By following these simple steps, you can create a functional, beautiful fire pit that will be enjoyed for years to come.

Leave a Reply