
Building a DIY concrete fire pit is a fantastic way to enhance your outdoor space and create a cozy, functional gathering spot for family and friends. Concrete fire pits are not only durable but also versatile, allowing you to customize the design to suit your preferences. Here’s a step-by-step guide to help you build your own concrete fire pit, along with key considerations for safety and durability.
Key Considerations:
- Safety: Before you start, ensure that the fire pit is placed in a safe location—far from trees, buildings, and anything flammable. Make sure that children and pets can’t easily access the fire pit area.
- Utility lines: Contact your utility company to check for any underground utilities before digging. This is essential to avoid damaging water, gas, or electrical lines.
- Solid foundation: The ground for your fire pit should be solid and level to ensure stability.


Materials and Tools Needed:
- Wooden planks (for the form)
- Metal rebars (for reinforcement)
- Concrete mix (sand, gravel, and cement)
- Gravel (for filling inside the pit)
- Decorative rocks (for finishing touches)
- Paint or spray (to mark the area)
- Shovel and tamper (for digging and compacting the ground)
- Drill (to create holes for rebars)
- Wire and matting (optional for extra reinforcement)
Step-by-Step Guide to Build a DIY Concrete Fire Pit:
Step 1: Prepare the Site
- Choose a location: Find a safe, level area for your fire pit, away from trees and buildings. The ground should be solid and compact to avoid sinking over time.
- Mark the area: Use spray paint or markers to outline the size and shape of your fire pit. This will help ensure accurate measurements during construction.
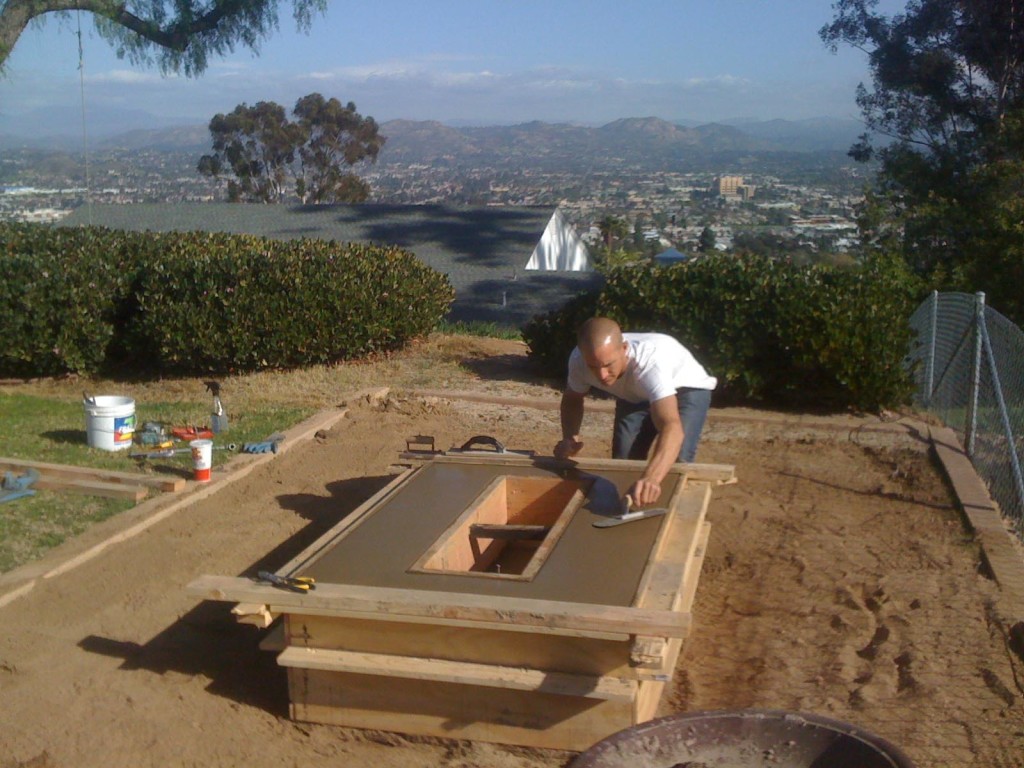
Step 2: Build the Form
- Create the form: Use wooden planks to create both the interior and exterior molds for the fire pit. The exterior form will be the outer wall, and the interior form will create the hollow space where the fire will burn.
- Reinforcement: Place metal rebars vertically at the corners of the form and add horizontal pieces between them to create a sturdy structure. This reinforcement will add strength to the concrete and prevent cracking over time.
- Wire and matting: If needed, you can add wire mesh or matting inside the form to provide additional support.
Step 3: Prepare the Concrete Mix
- Mix the concrete: Combine sand, crushed stone, and cement in the correct proportions. The mixture should be thick enough to hold its shape when poured but not too dry.
- Pour the concrete: Fill the space between the forms with the concrete mix, making sure it’s evenly distributed. You may need to tap the sides of the form to remove air bubbles.
- Level the surface: Use a board or trowel to smooth the top of the concrete to the desired level.
Step 4: Allow the Concrete to Set
- Let the concrete set for at least 24 hours to allow it to harden properly. Depending on the weather, it may need longer to fully cure. Avoid disturbing the concrete during this time to prevent cracks.
Step 5: Remove the Form
- After the concrete has set, carefully remove the wooden form. Be gentle during this process to avoid damaging the edges of the fire pit.
- Inspect for defects: Concrete can sometimes have minor defects, so inspect your pit for any cracks or imperfections. These can sometimes be repaired with touch-up work if necessary.


Step 6: Add Final Touches
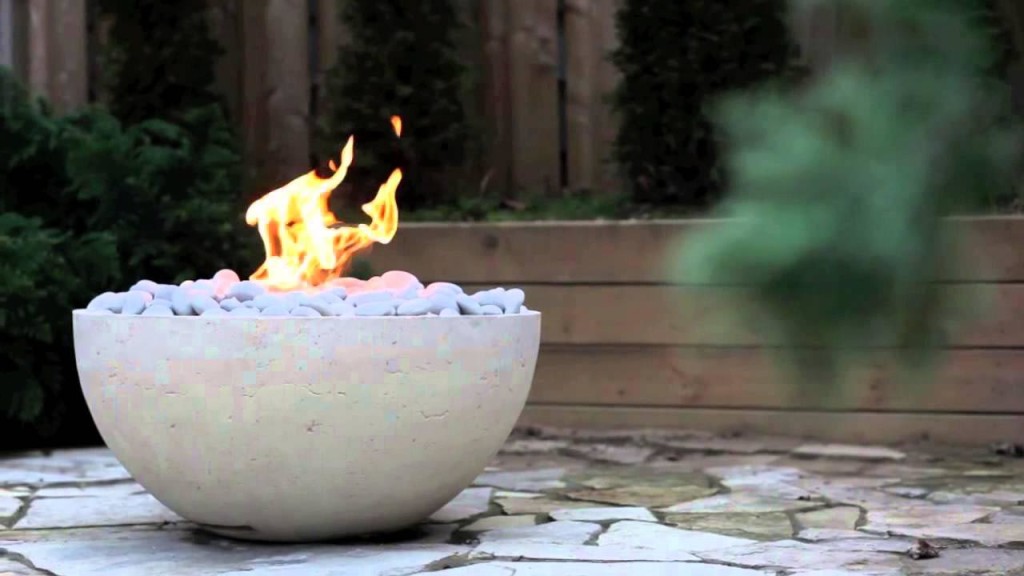
- Fill with gravel: Once the concrete structure is ready, fill the bottom of the fire pit with gravel. This helps with drainage and heat distribution. Aim to fill about three-fourths of the fire pit’s volume with gravel.
- Install the fire pit bowl: If you’re using a DIY concrete fire pit bowl, place it into the center of the pit. This bowl acts as the actual fire-burning container.
- Decorative rocks: Fill the space between the fire pit bowl and the concrete walls with decorative rocks or lava stones to finish off the design. These rocks add to the visual appeal and can also help contain the fire.
Step 7: Ready to Use!
- Once your DIY concrete fire pit is complete and the finishing touches are in place, you can immediately start enjoying it. Gather your friends and family for a cozy evening around the fire.
Tips for Longevity:
- Cover your fire pit when not in use to protect it from the elements, especially rain, which can cause concrete to degrade over time.
- Regular maintenance: Check the fire pit regularly for cracks or damage. If you notice any issues, repair them promptly to avoid further damage.
- Fuel: For the best experience, use fire-safe logs or fire pit-friendly fuel. Avoid using wet or untreated wood, as it may release harmful chemicals and create excess smoke.
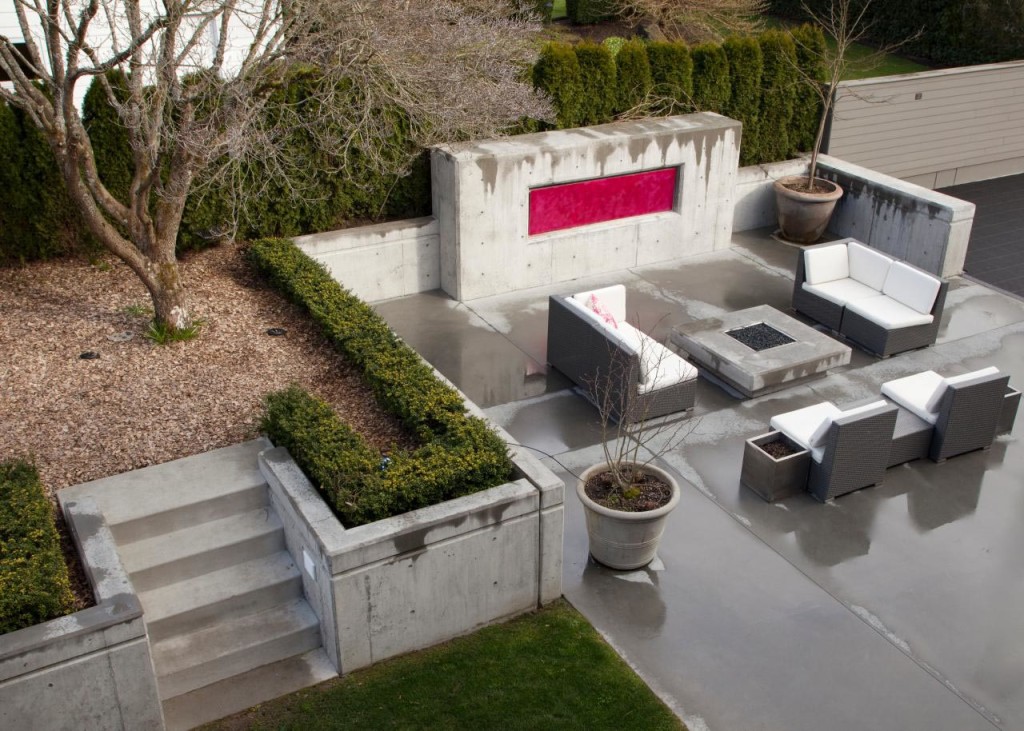
Building a DIY concrete fire pit is an enjoyable and rewarding project that adds both functionality and aesthetic appeal to your outdoor space. With careful planning, the right materials, and a bit of effort, you can create a beautiful and durable fire pit that will be a focal point for years to come. Enjoy your new fire pit and the warmth it provides for family gatherings, parties, and cozy evenings!
Leave a Reply