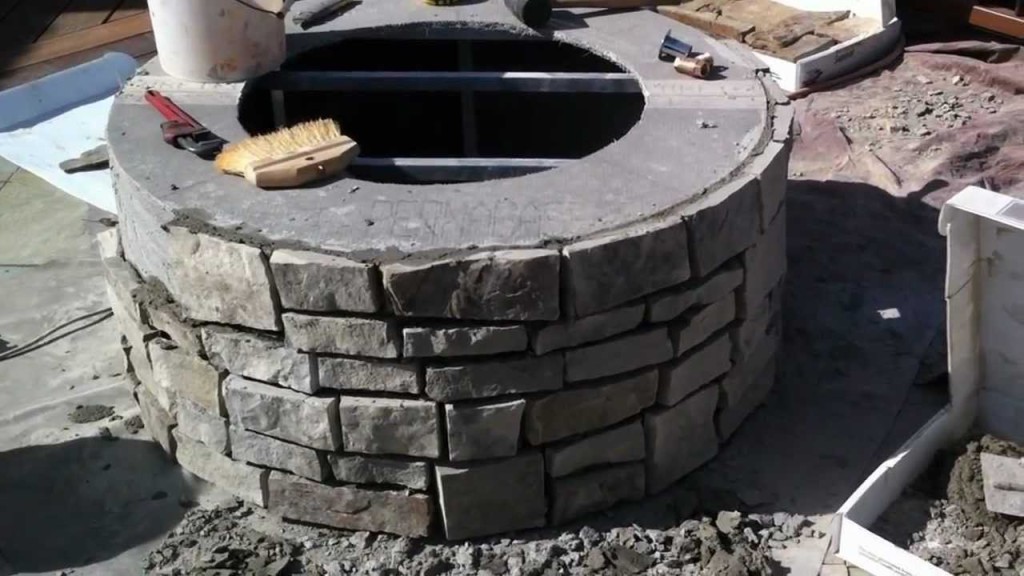
Creating a DIY fire pit table is a fantastic way to add both functionality and style to your outdoor space. By making your own fire pit table, you get to customize it to your desired look and size, creating a unique piece for your backyard. Here’s a step-by-step guide for creating a wooden fire pit table top, which is not only practical but also aesthetically pleasing.
Materials and Tools Needed:
Materials:
- Wooden boards (choose a durable wood like cedar, pine, or redwood)
- 2 lengths of screws (appropriate size for securing boards)
- Metal and wood brackets
- Stain and paint for finishing
- Wood conditioner (optional but recommended for better stain adhesion)
- Polyurethane (for waterproofing)
Tools:
- Jigsaw (for cutting the wood)
- Electric drill (for drilling holes and screwing the brackets)
- Palm sander (for smoothing the wood)
- Tape measure (to check dimensions)
- Pencil (for marking cuts)


Step-by-Step Instructions:
1. Prepare the Wooden Boards
First, you need to select and prepare the wooden boards. The boards should be long enough to form the top of the fire pit table. Measure the diameter of your fire pit to make sure the boards fit snugly around it. It’s important to plan for a wooden top that covers the fire pit while leaving enough space around the edges for safety.
2. Cut the Boards to Size
Next, line the boards up side by side around the fire pit. Using a jigsaw, cut the boards to the approximate size of the fire pit top. Make sure that the cuts are accurate to avoid sharp edges or uneven lines that could disrupt the look of the table.
3. Mark the Center for the Circle
Nail a string or a small piece of wood in the center of your fire pit, where the fire pit’s reservoir or cooking area is. This will act as a guide for marking the circle on your wooden top. The string helps you draw a perfect circle. Use a pencil to trace the circle, ensuring that the top of the fire pit is covered evenly.
4. Assemble the Table Top
Once your circle is marked, begin screwing the wooden boards together. Use wood brackets to hold the boards in place and metal brackets to provide extra stability. Use the longer screws for the wood brackets and shorter screws for the metal ones. Tighten everything securely with your electric drill.
5. Cut Out the Circle
After the assembly, take your jigsaw and carefully cut along the pencil mark to create the circular shape. Go slow and steady for a clean, smooth cut. You can adjust the edges afterward to ensure that the circle is even.
6. Sand the Edges
Once you have the circle cut out, use a palm sander to smooth the edges. Sand the top of the wooden boards as well, ensuring there are no splinters or rough patches. The smoother the surface, the better the finish will be.
7. Apply Wood Conditioner (Optional)
To help the stain adhere better and to improve the overall finish, apply a thin layer of wood conditioner. This is especially important if you are using a softer wood like pine. Allow the conditioner to dry before proceeding to the next step.
8. Staining and Sealing
Now it’s time to add color and protect your wood. Apply a coat of stain to the top, making sure to cover all exposed areas. Let the first coat dry, then apply a second coat for a deeper color and more protection. To ensure durability, finish with a coat of polyurethane to seal the wood and improve its waterproof qualities. This is crucial because the wooden top will be exposed to the elements.
9. Final Assembly
Once the stain and polyurethane are completely dry, your wooden fire pit table top is ready to be used. Simply place it on top of your fire pit, ensuring it fits securely and sits comfortably around the fire pit.


Additional Tips:
- Safety First: Always ensure your fire pit is set up in a safe location, away from overhanging trees, buildings, or anything else that could catch fire. A fireproof surface or a heat-resistant mat underneath the fire pit can add an extra layer of protection for your lawn or patio.
- Weather Protection: If your DIY fire pit table will be exposed to rain or other harsh weather conditions, consider adding a removable cover for extra protection when it’s not in use.
- Decorative Options: Feel free to get creative with the finish and decorative elements. You can paint the table to match your backyard’s theme, add some outdoor cushions, or even incorporate tile patterns around the edges for a more refined look.

Leave a Reply